Labels

Little Winter Woodlands Rabbit Happy Easter


    Happy Bitten by the Bug 2 Monday blog hoppers. This week's challenge cut at BBTB2 is the Rabbit from Winter Woodlands. I had not used this rabbit cut before and I must say she is just adorable! I love the layered pieces and the potential for this cute little bunny. I used cat’s eye chalk to add depth to the edge of the top layer leg and head pieces.


    I know that I have jumped the season a bit, but I combined the rabbit cut with the new Easter 2010. I used the Easter basket and eggs from the Easter cartridge, as well as the scalloped circle cut. I used my Copic markers to color the edge of the scalloped circle and to color the flowers and leaf cut out areas on the eggs and basket. I added pearl embellishments, including the black pearl for the Rabbit's eye. I used my usual black and white pens to add dotted embellies.


    Do I even need to tell you that the Happy Easter cut came from the Easter cartridge???  Probably not.  I used the same chocolate brown paper for the word shadow as I used for the Rabbit, basket and bow shadows. And again I used a Copic marker on the top layer of cardstock to to match the color on the scallops.
     
     
    I love the close up of the rabbit in the basket; she looks so sweet and so happy. 
     

    The inside of the card is stamped with a curved Happy Easter stamp.  I have a confession:  I dropped the stamp as I was completing the stamp.  You will note the little smudge on the word Happy.  And finally, below is one last look at the card front.


    Note:  The cut file has been added to the list of available cut files in the left column - WW & Easter Rabbit Card.
    Source URL: http://soniceview.blogspot.com/2010/01/
    Visit So Nice View for daily updated images of art collection

Big Blog Candy Winner!!!!!!!!

    Ok ladies, I have gone through, eliminated all double posts, and discounted posts after 11:59 pm last night. And I have a winner!!! Are you excited??!! I sure am!! Ok, here we go....from Random.org, here's what came up....


    True Random Number ServiceRandom Integer Generator
    Here are your random numbers:

    96
    Timestamp: 2010-01-31 20:27:42 UTC


    Ok....now to go count! LOL! I'll be right back.....

    Drum roll please....... THE WINNER IS........

    Pam L!!!!


    Pam L. said...
    400 Followers! amazing. I am thrilled with my 66!LOL! I can't even imagine that many! Congrats.That tells me that you are already giving to your readers by posting your wonderful cards and projects. Thanks for sharing your talent and sweet personality with us!It's so generous of you to offer all of these wonderful crafting goodies!
    Hugs,
    Pam

    January 11, 2010 4:34 PM

    CONGRATS PAM!!!! Please email me your address so I can get all your goodies out to you. Also, please go over to The Cutting Cafe' and pick out which stamp set you would like to have, and then go to Peggy Loves Vintage and pick out your three sets of cut outs that you would like, and let me know!

    A huge thank you to everyone that played along. Thank you so much for all your kind words and support! You are appreciated more than you will EVER know!! Enjoy the rest of your weekend!! Big hugs!Source URL: http://soniceview.blogspot.com/2010/01/
    Visit So Nice View for daily updated images of art collection

Flavor-of-the-Month . . . Amaretto Madeleines


    Welcome to Flavor-of-the-Month, boozy edition!


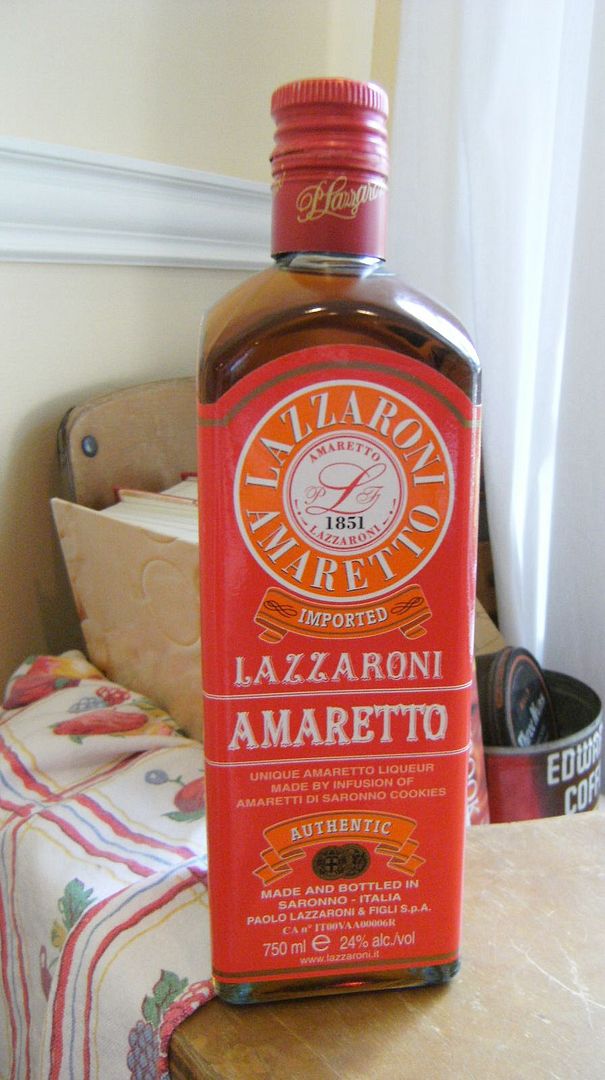
    My favorite drink in the whole wide world is an Amaretto Sour. Even though I'm too lazy to make them very often, I try to keep a bottle of Amaretto in the house at all times, just in case. So, when contemplating Boozy Edition, it was calling to me.

    Take a look at this Amaretto I found. Read the label...
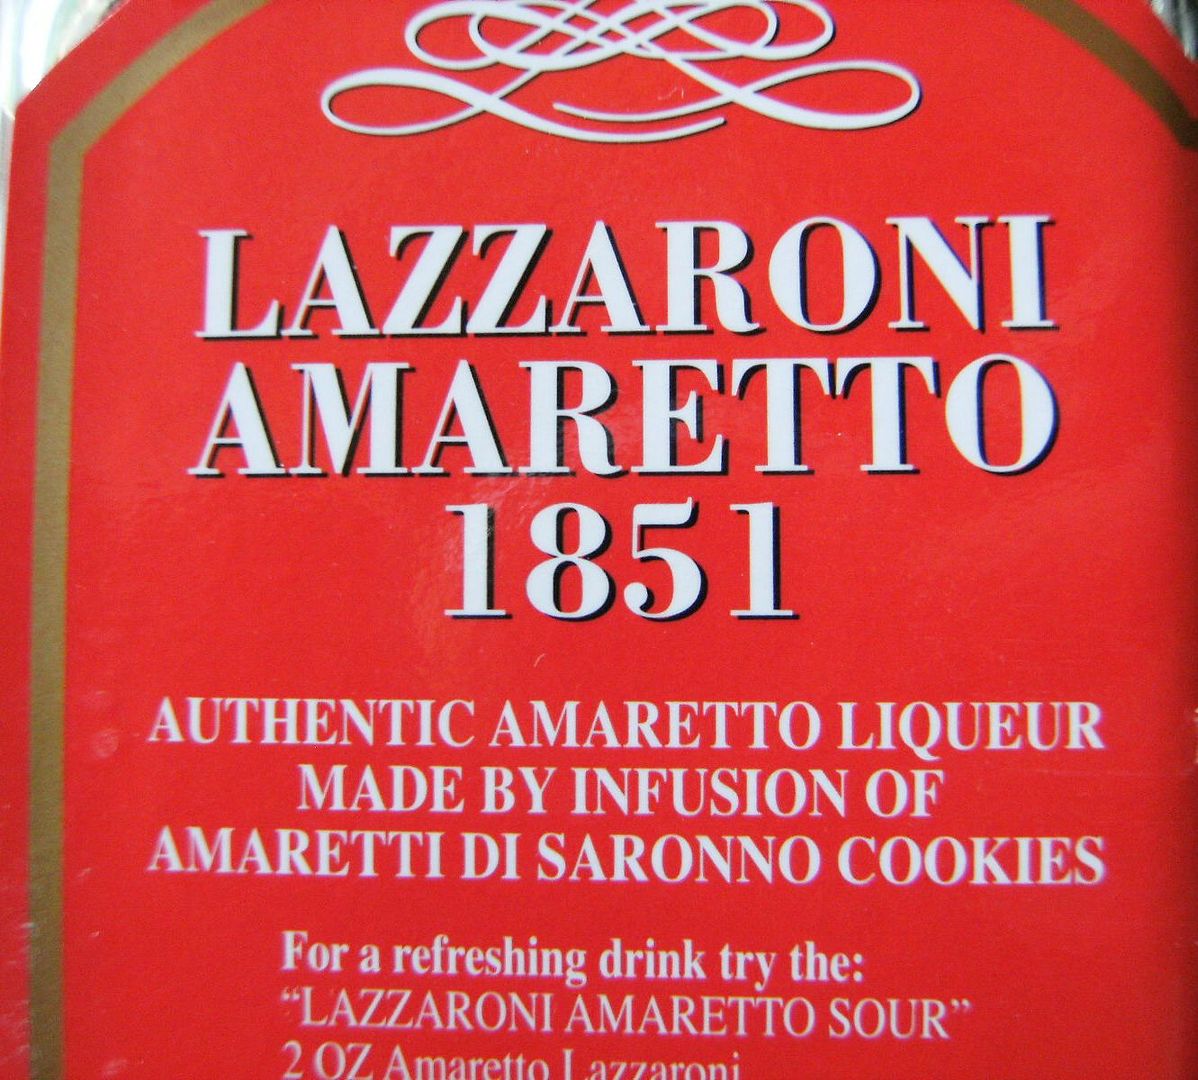

    "Made by infusion of...cookies!!!" Now, this is my kind of liqueur!

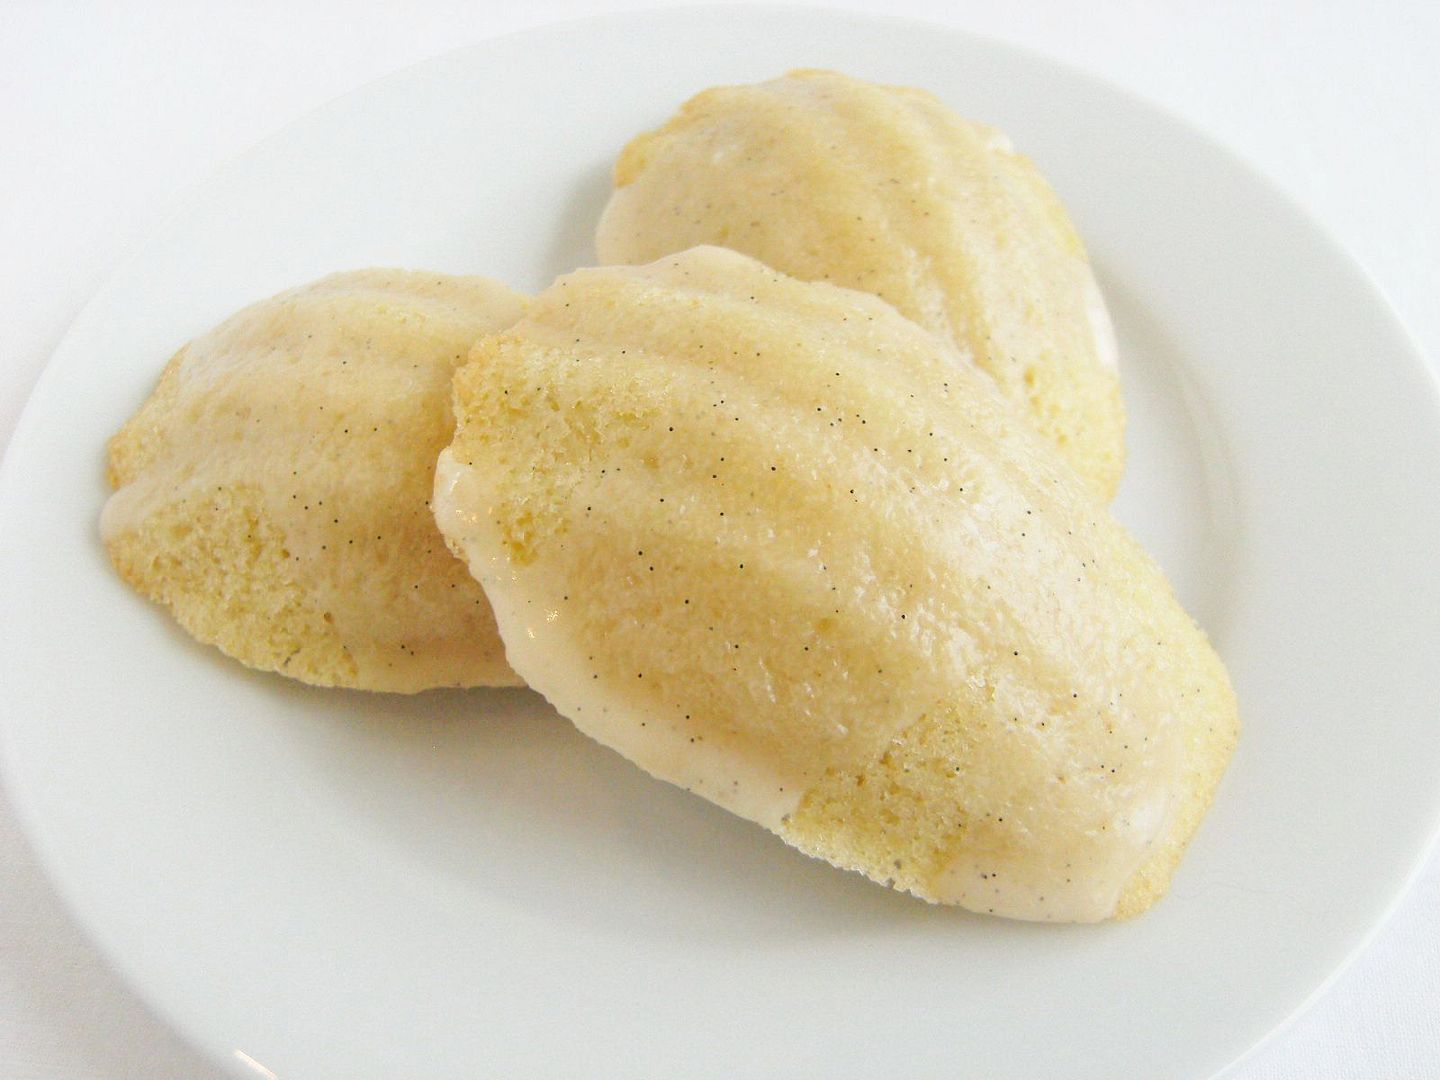
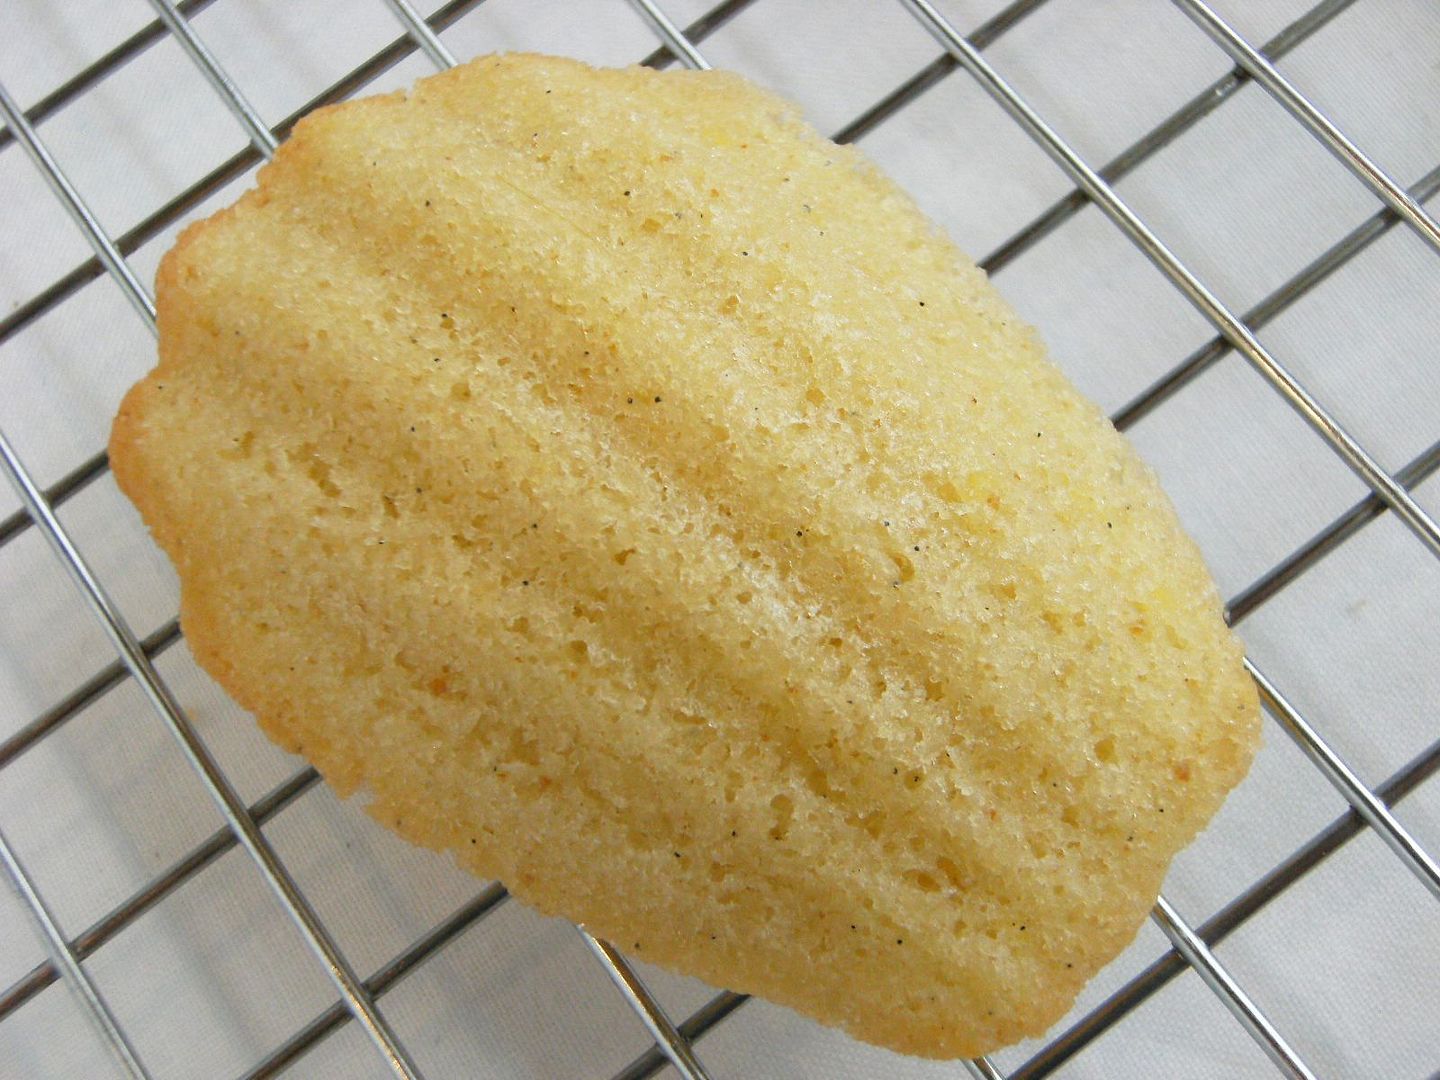
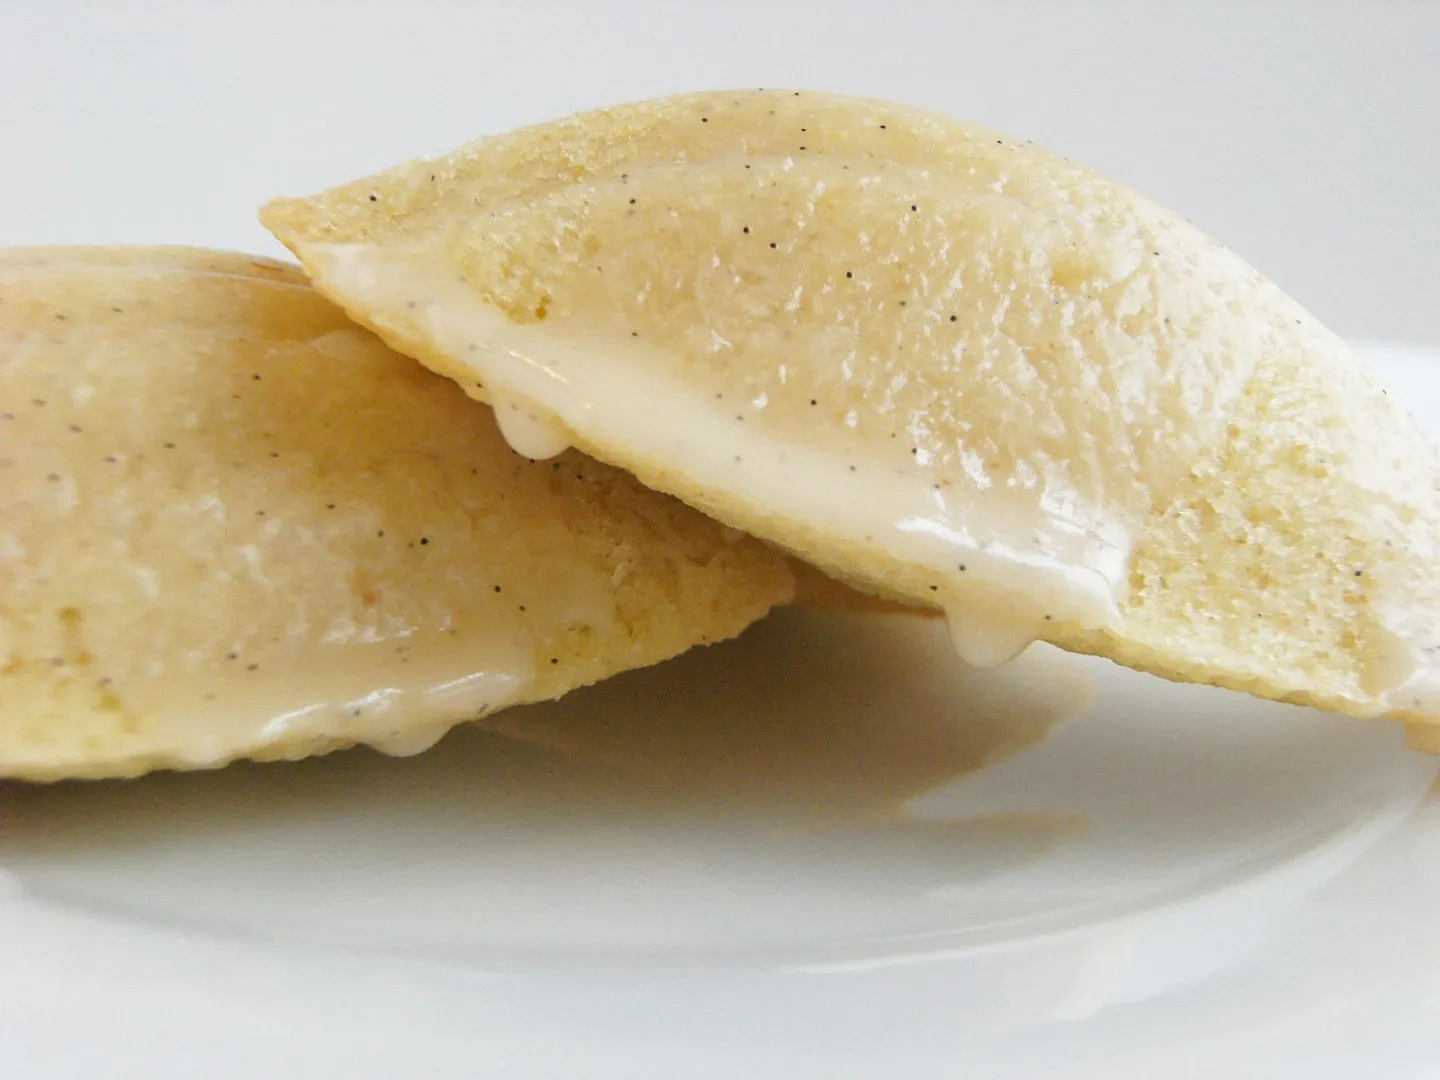
    Madeleines are, to me, like a combination of cookie and cake...how can that be wrong? And did anyone else read the Madeleine books growing up? I loved those books and making these made me think of...

    "In an old house in Paris that was covered with vines,
    lived twelve little girls in two straight lines..."


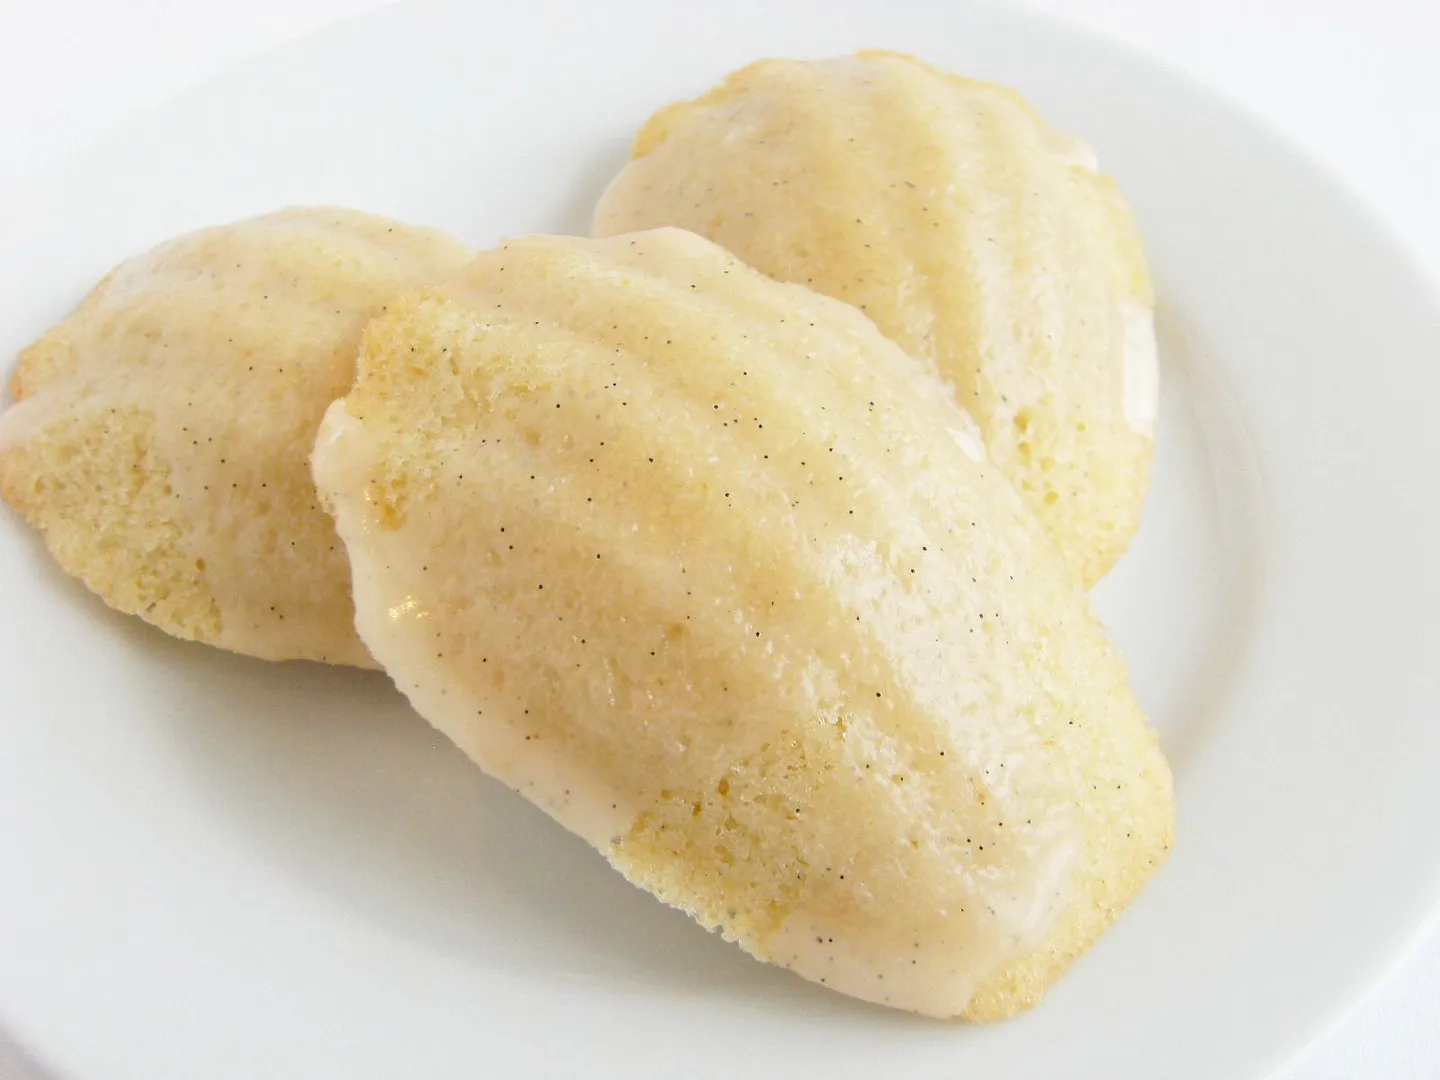
    Amaretto Madeleines with Amaretto-Vanilla Bean Glaze
    (makes 22 madeleines)

    10 TBSP unsalted butter, plus more for the pan
    2/3 c sugar
    1/2 salt
    3 eggs, room temp.
    2 tsp Amaretto
    1 tsp vanilla bean paste (or vanilla extract)
    1 c flour, sifted

    Over medium heat, melt the butter in a saucepan. Simmer gently until the butter deepens slightly and there are small flecks of brown in the butter, about 5 minutes.

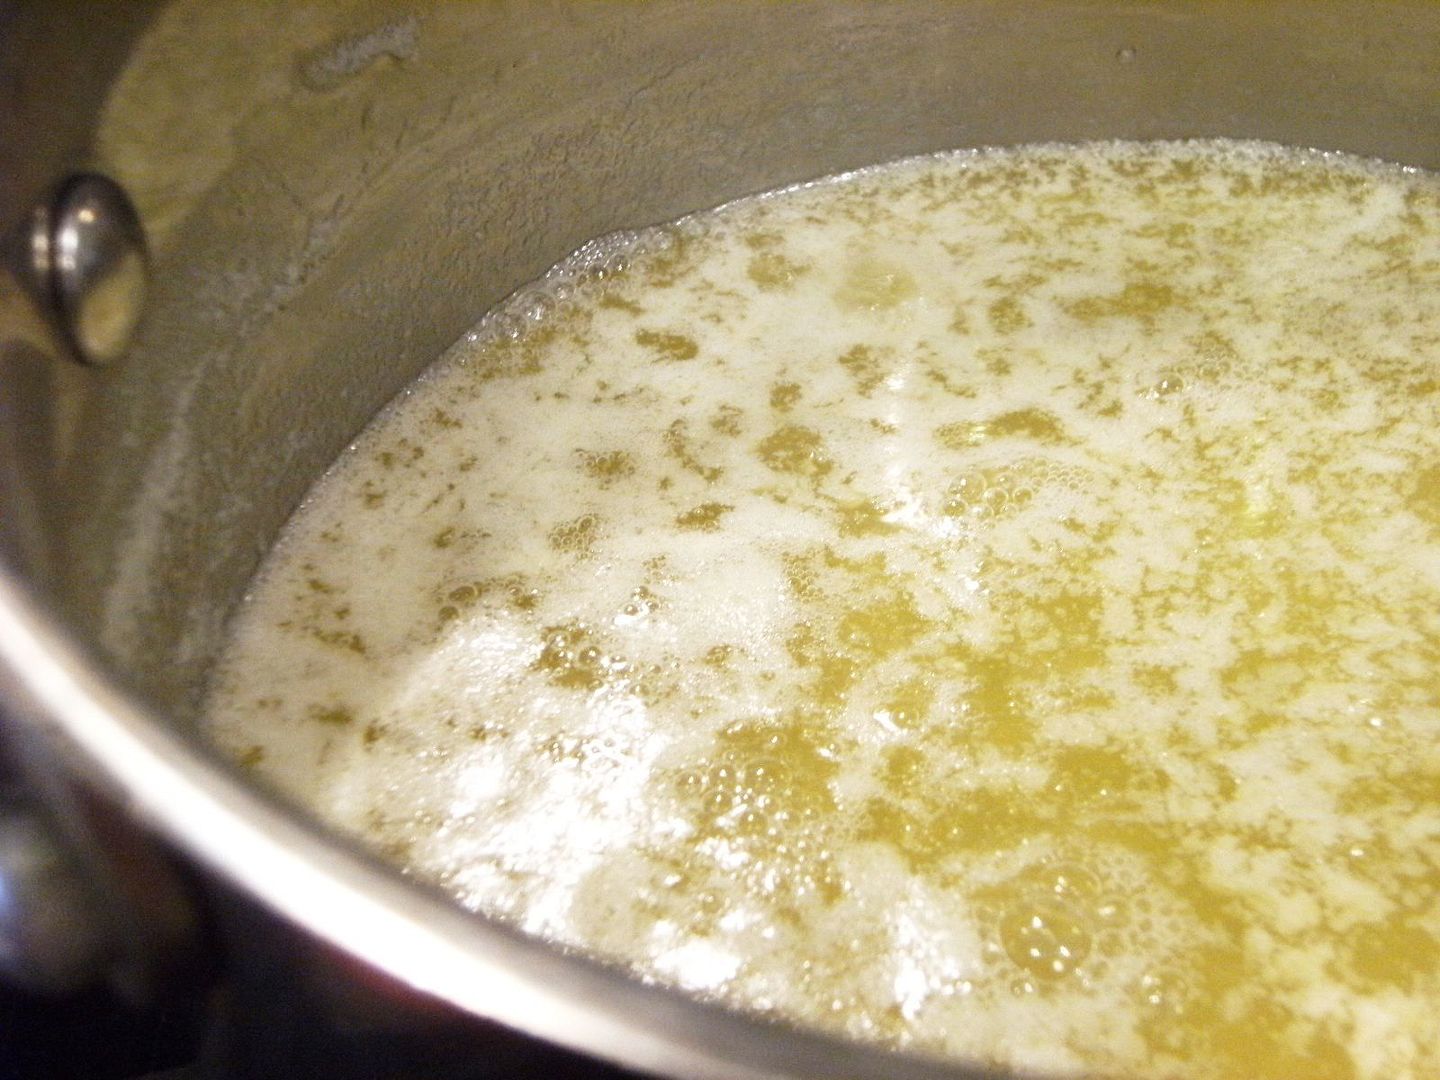
    {Browning butter always makes me nervous!}

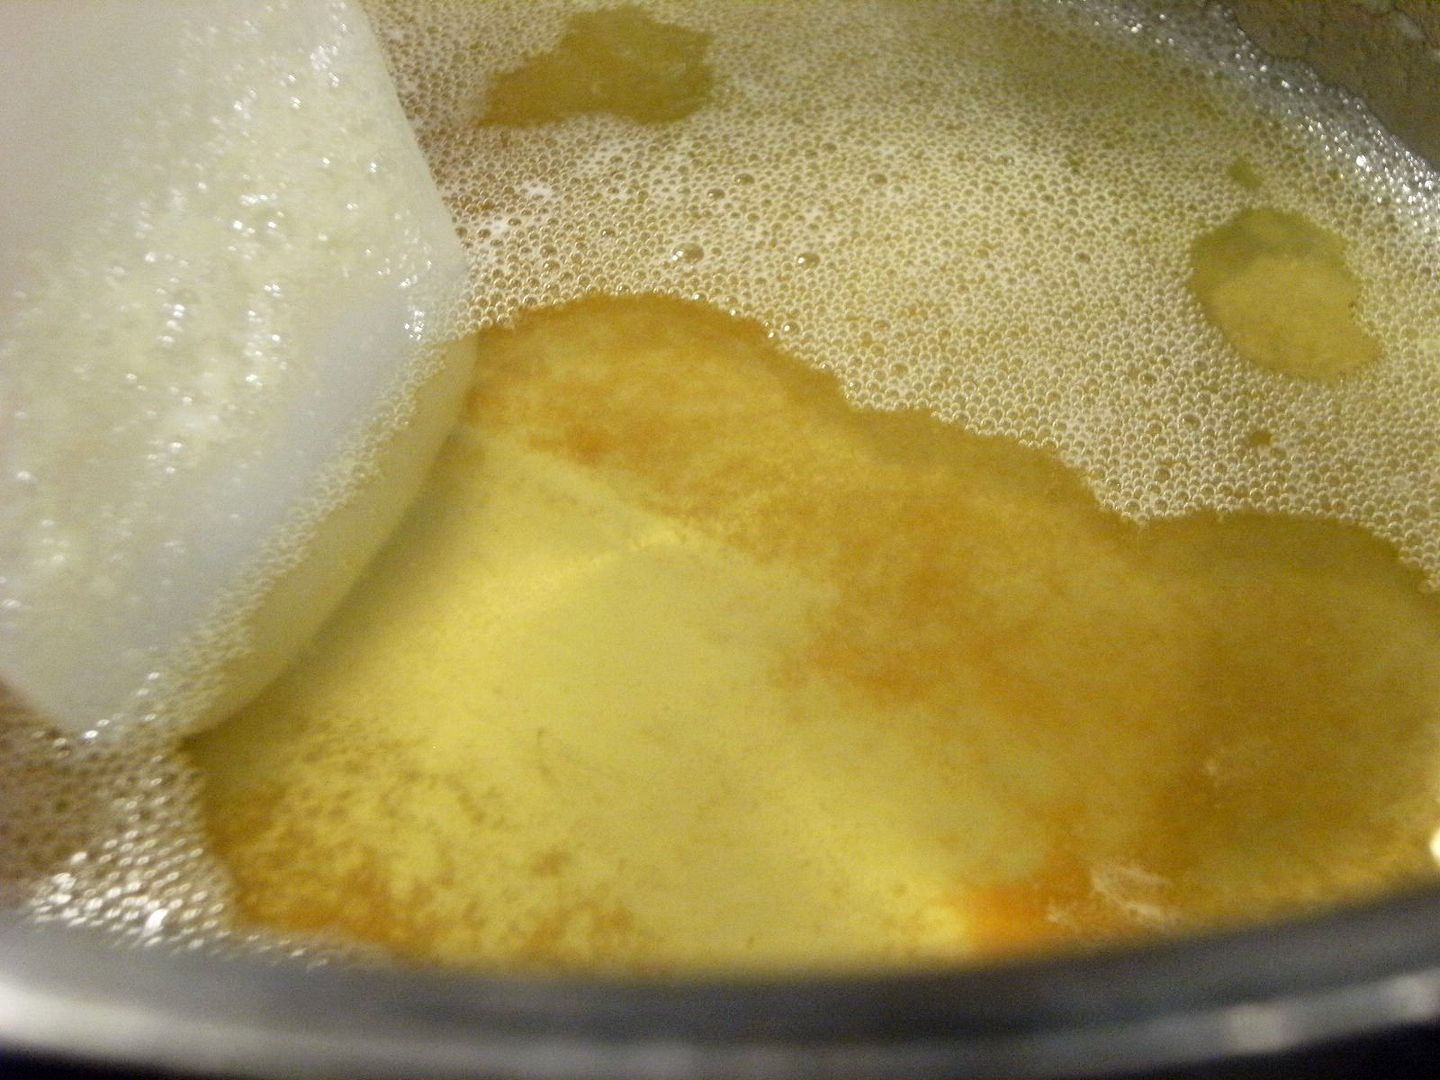
    Set aside to cool to room temperature.

    Beat the sugar, salt and eggs several minutes until they are light yellow and thickened. Stir in the Amaretto and vanilla bean paste.

    Gently fold in the flour and butter in 3 additions each, alternating between the two. Refrigerate the batter for 45 minutes.


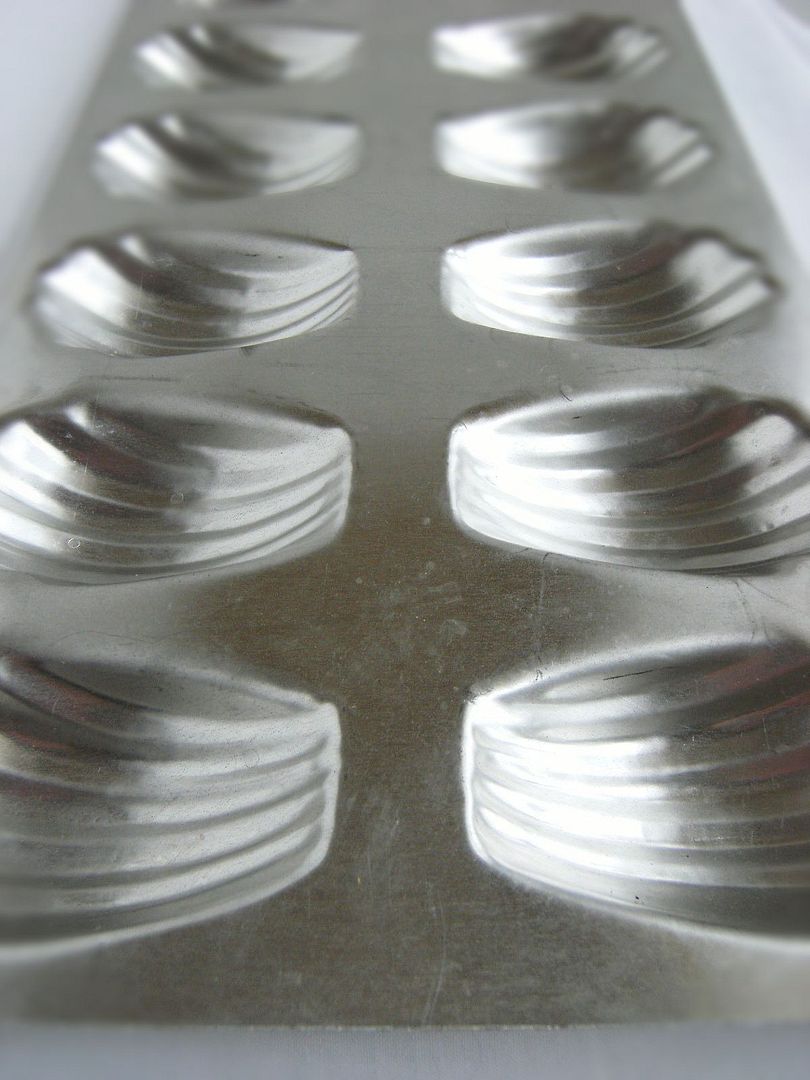
    Preheat the oven to 375. Brush the madeleine pan with melted butter.

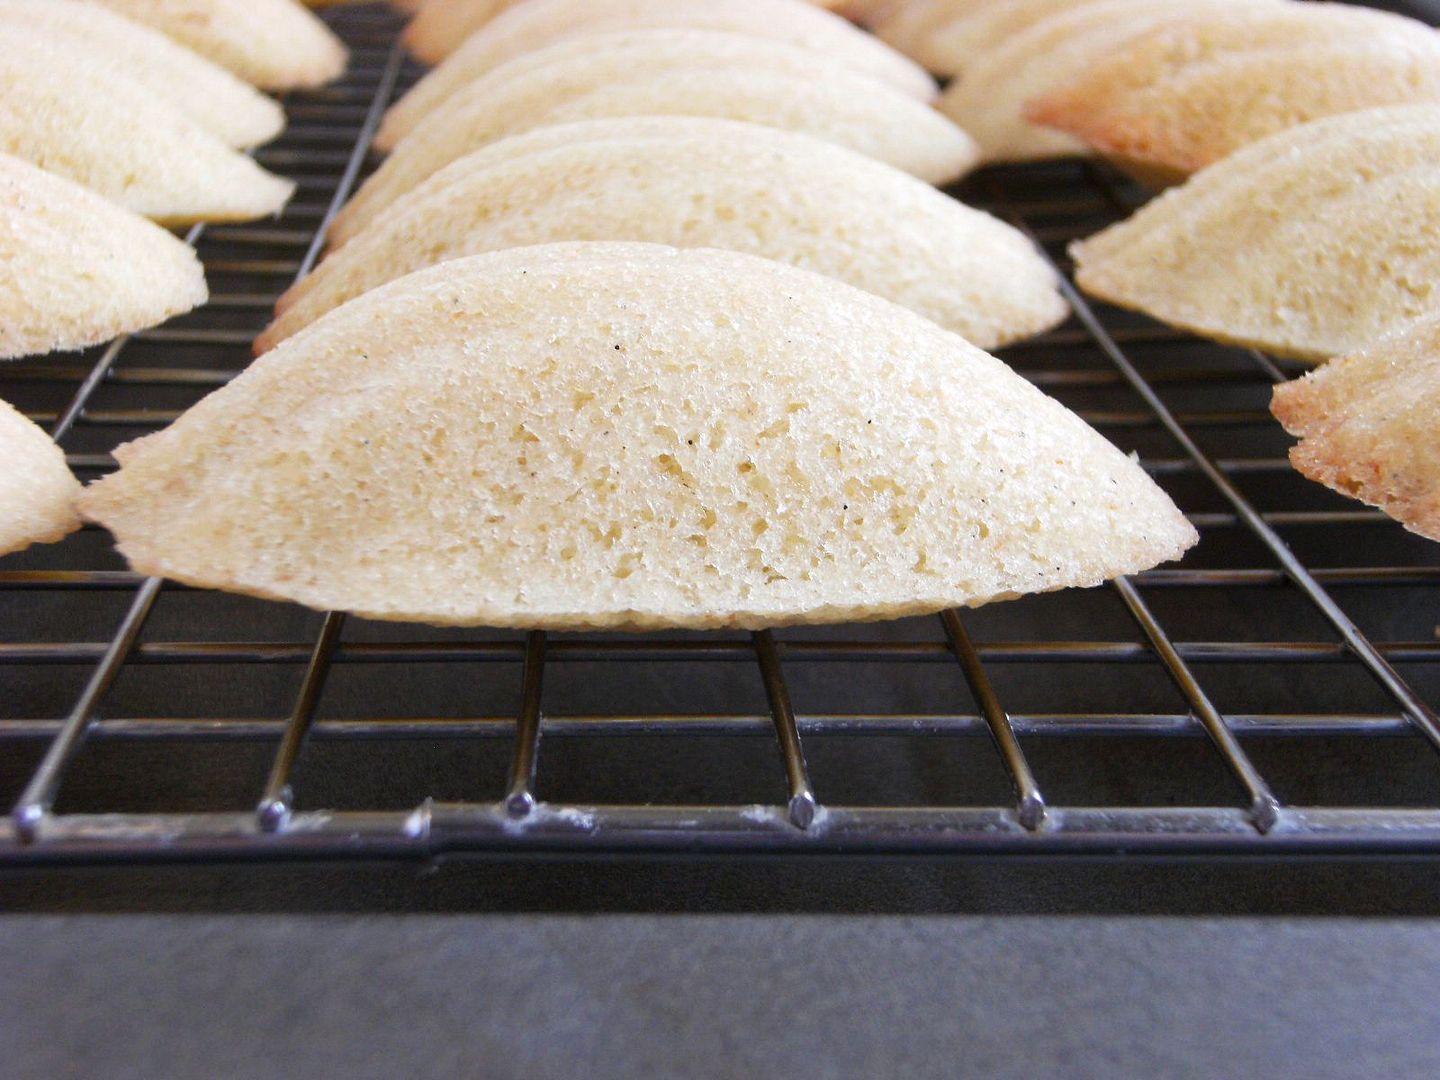
    Fill the pans with 1 heaping tablespoon of dough per cookie. Bake 12 minutes until the edges are light brown.

    Let cool in the pan 5 minutes. Carefully remove from pan and let cool completely on a cooling rack.

    If making these in 2 batches, let the pan cool completely. Wipe out the cookie molds and re-coat with melted butter.


    Amaretto-Vanilla Bean Glaze

    1 & 1/4 c. powdered sugar, sifted
    3 TBSP whole milk (or whatever you have on hand, lower fat will make a thinner glaze)
    2 TBSP Amaretto
    1 tsp vanilla bean paste (or vanilla extract)

    Whisk to combine all of the ingredients.

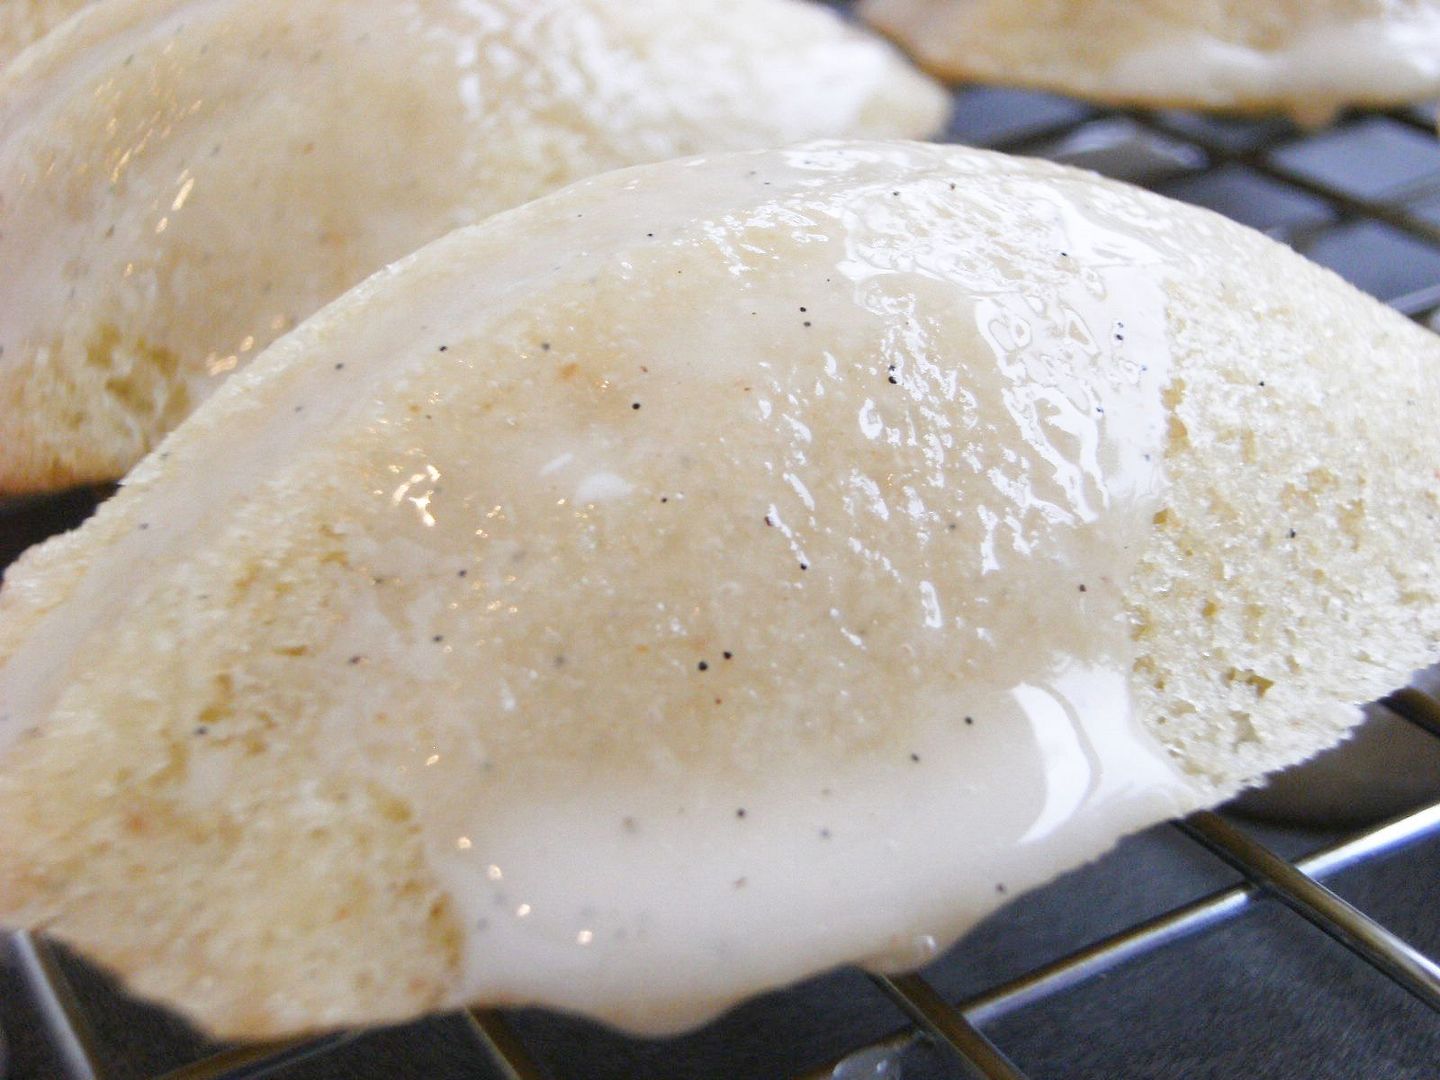
    Place the madeleines on a cooling rack placed on a cookie sheet. (This will catch the glaze and make for easier clean-up.)


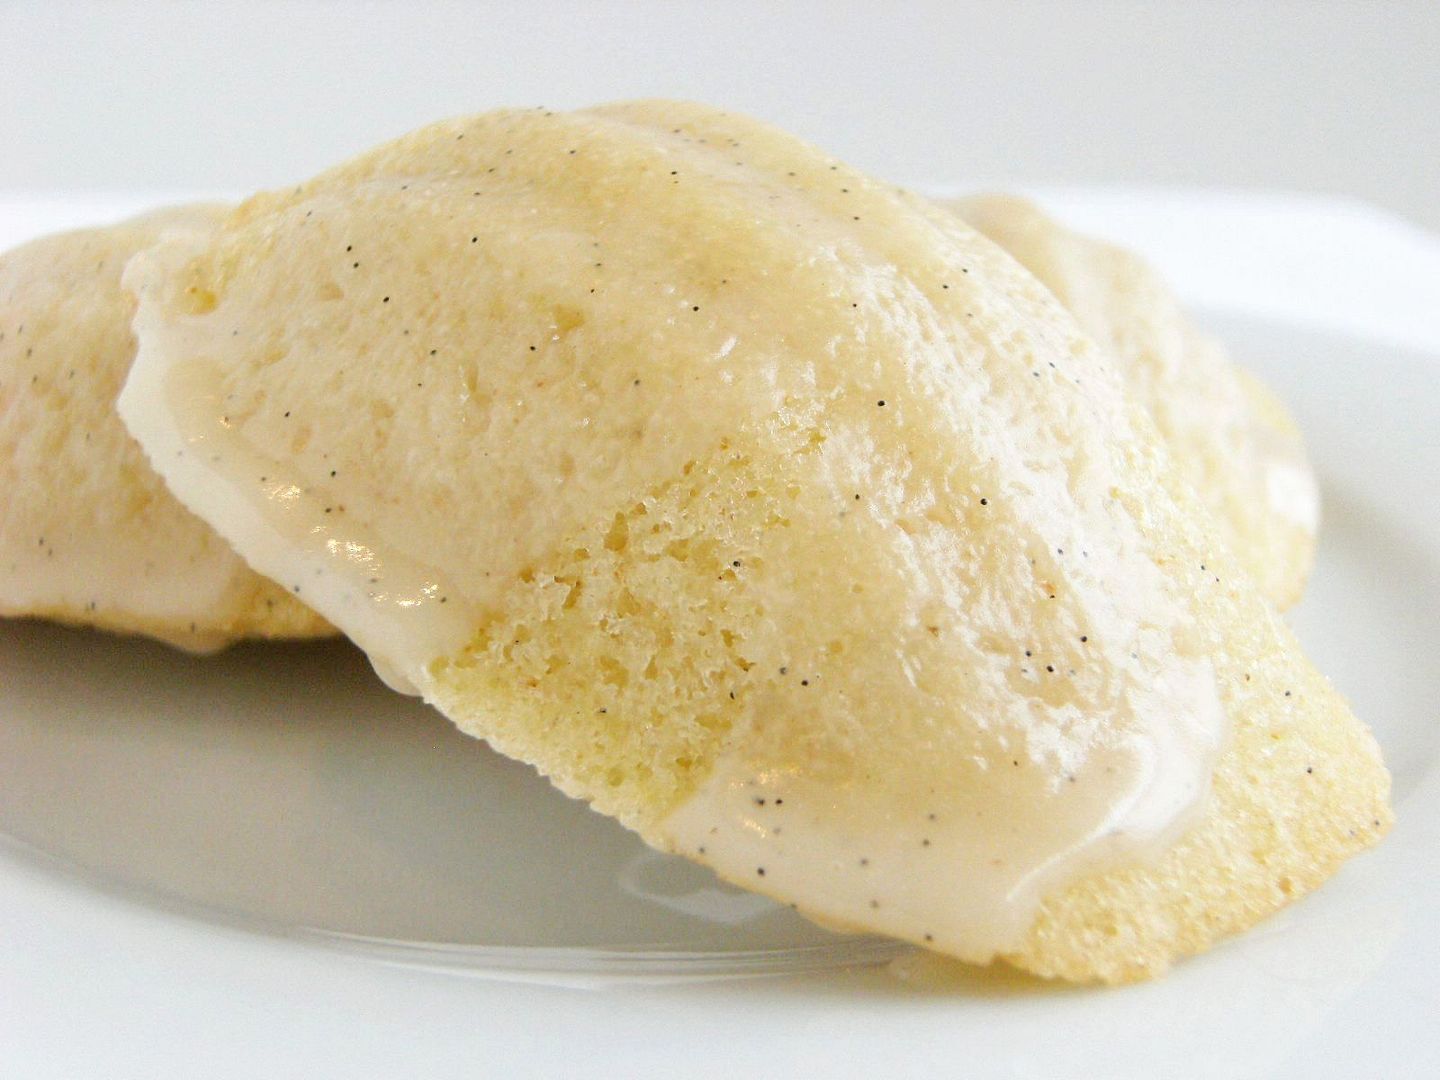
    Spoon glaze over the cooled cookies.


    Flavor-of-the-Month February will be CHOCOLATE!!! Oh, I can't wait!!!

    ♥Reminder: when linking up, please link to your blog post only...not your blog's main page. These links will be removed. If you're not sure how to do that, click here.♥


    Want to check out our past FOTM's? Click here! It's a great way to find new blogs to love!

    Link away! (Linky will close the evening of February 3rd to discourage spammers.)

    Source URL: http://soniceview.blogspot.com/2010/01/
    Visit So Nice View for daily updated images of art collection

Peggy Loves Vintage contest!


    Have you been wanting to try some images from Peggy Loves Vintage?? Well, nows your chance to win some free images! Just visit Peggy's blog and get the free image of this beautiful vintage heart (make sure you click on the heart first before you save it so you get it at full size). Then make a project with it and post a link on Peggy's blog (or email her a pic) before February 12th, and you could win 2 sets of cutouts from Peggy's store!! Fun stuff!!!! So hurry on over there and get your free image, and I can't wait to see what you come up with!


    I printed the image out twice, once on kraft paper for the dark background, and once on white Bazzill so I could have the brighter pink heart in the center. I cut out the brighter pink heart, stamped it, and then popped it up from the background image after using a little chalk ink around the edges. It's also for sale in my etsy shop. Link is on my side bar.

    Thanks for stopping by to see me today, and hope to see you back again soon!! Hugs!!

    recipe:
    image - Peggy Loves Vintage
    paper - DP - Fancy Pants Letters of Love; kraft paper, Bazzill cardstock
    tools: heart Nestabilities, Bow Easy
    Misc: pink rhinestones, silk ribbon, charm, machine stitching, stickles, dimensional tape
    Source URL: http://soniceview.blogspot.com/2010/01/
    Visit So Nice View for daily updated images of art collection

Playing With New Toys


    I was so happy to see UPS arrive at my door today bearing my Custom Crops order. In addition to some really pretty Valentine Paper I also received the Mother's Day cartridge. Initially I was not very excited about this cartridge, but upon closer inspection I discovered that it contains some really pretty cuts. And I discovered that it does not have to be all about mom.


    As I looked at the pretty cuts, I noticed this really pretty floral vine. When I placed the cut on the mat in Design Studio I realized that when I turned the vine upside down it resembled a floral heart. Given that Valentine's Day is just around the corner, I decided to make a card.


    I used five colors of Core'dination cardstock to create this card: Jenni Bowlin Core Impressions embossed black, white washed red, white washed pink, plain white, and gold. I cut the shadow of the vine in plain white. I cut the vine cut twice, once in white washed red, once in white washed pink. I used scissors to trim away the flowers on the pink cut. I then attached the pink cut over the red cut. I used a 1/4 inch hole punch to create the gold flower centers. Finally I cut the tag, using the hide select contour feature, in black.

    Source URL: http://soniceview.blogspot.com/2010/01/
    Visit So Nice View for daily updated images of art collection

♥ pimping my BB Bold & E71 ♥

    soooo, I have been using the rubber case for my BB Bold.
    it's cute but I wanna try something else..
    so I found this little accessories shop for Blackberry in PIM (Pondok Indah Mall), Indonesia.
    not only rubber case, but also the hard battery case. :)
    they weren't much choices of colors because there were soo many people in the shop buying accessories so I guess the choices got ran out.
    luckily, they still have the PINK one although the material was too glossy (the Bold battery case supposedly a bit leathery) but hey, it's still pink~ lol.
    & the other color that I picked was the light green & the material was made from leathery so it matched my Bold. xD
    I was kind of thinking to get the orange one too with a little bit of style of animal print, but i thought i wouldn't need that much case anyway.
    those battery case costs about Rp.100.000,-
    i'm not sure if it's expensive or not.
    but they have the full set of case that comes with the keypad, battery case, and everything else but it was too expensive. it costs about Rp.1.500.000,-!!


    soo what do ya' think, which one looks cuter?


    as for my Nokia E71 case, I bought them in Bangkok while I was on quick holiday.
    i chose the glittery bling bling cases just because I thought it looks fun~~ ^o^
    it costs me about 350Baht/case. that's around Rp.100.000,- too just like my BB case.


    soo which one looks cooler on my E71?


    hehee pimping out gadgets it's fun.
    although original case are not bad at all but i just want to 'dress-up' my gadgets sometimes. hahahaaaa~
    maybe gadgets wants to look fashionable too.


    love.love ♥♥Source URL: http://soniceview.blogspot.com/2010/01/
    Visit So Nice View for daily updated images of art collection

It's Friday Night...

    While I can't believe it is already over, this week has definitely been one of those I'm glad to see end. I am sitting here drinking a cup of coffee and taking a moment to breathe, but I really need to start packing; this weekend, I am heading to Kentucky to see my best friend from college and celebrate her little girl's 1st birthday.


    Noe Dewitt

    There is nothing quite like catching up with an old friend in person, and I can't wait for my feet to hit that snowy ground. I hope you also have something planned for this weekend that you're looking forward to doing, even if it is simply doing nothing at all.
    Source URL: http://soniceview.blogspot.com/2010/01/
    Visit So Nice View for daily updated images of art collection

REVIEW: Freshlook Colorblends Contacts ♥


    Hi hiii~


    Recently, I purchased a brand new contacts lens. :)
    I never use them before & it's quite an experience. lol.
    I went to the mall with my BF the other day & saw a promotion in a new optical store.
    They were having a promotion for a contacts lens which if I buy 2 box, I will get another box for free.
    I thought, why not? I'm having troubles with eyesight too.
    So Hney & I got our eyes tested & it turned out that I have a 0.75 minus while Hney's have a 1. something minus.
    Which explains why we see blurred for the far sight. xD


    There were a lot of choices of contacts brand, but we chose Freshlook Colorblends because it was the most natural color contacts.
    I picked the Gray color, caz I thought I should try the less-obvious color before deciding to go all extreme with the contacts. 
    The other 2 were for my BF because he has worser eyesight compare to me.
    He picked the Brilliant Blue & the Sterling Gray which are the combination of gray & aqua-ish color.

    So we did purchased them & it costs us RM120 for 2 box. 

    So that means RM60/box for the power contacts or the contacts with prescriptions. (RM60 is around Rp.180.000,-) & I got another box for free^^

    I think the non-power contacts would be around RM50 (Rp.150.000,-).


    When we got home, we tried the contacts.
    I was having a hard time putting them on & I search some YouTube videos that explains the technique.
    After quite sometime, I finally got it. lol.
    I hurts at first, my eyes were red, I cried naturally not because of the pain though.
    My eyes need to take sometime to get used to it but so far I like them very much.
    I like the color, the material, and everything else.
    My eyesight is so much better too. I can see farsight now without even trying :)
    The gray color also compliments my eyes.
    These are some of the pictures~~


    soo that's my review of the contacts. ask mee if you have questions^^
    I will post the techniques that I use & some more review on the future posts. :)
    byee..


    love.love ♥♥Source URL: http://soniceview.blogspot.com/2010/01/
    Visit So Nice View for daily updated images of art collection

Wags 'n Whiskers - brown, blue, and white!

    We made it to Friday! YAY! :) And that means it's time for a new Wags 'n Whiskers challenge. This weeks challenge is from the fabulous Inge, and it's to use the colors brown, blue, and white on your project. I love this color combo, and chose to use the stamp Bear Hug. I used several different shades of brown, including that beautiful taupe silk ribbon. It comes across a little pinkish in the photo. She's colored with Copic markers, and I honestly have to say that I love this stamp so much!! This card is for someone that is really having a tough time right now, and I'm truly hoping it will make her feel a little better.


    The flowers were cut with my Cricut and Gypsy from the Paisley cart with some chalk ink around the edges. I just cut circles out for the centers and topped them off with a bow made from twine from PTI. That fabulous teddy bear charm hanging from the bow is from Lacey over at Stamp and Create! Isn't it adorable??!! The hearts were cut with Nestabilities and then popped up for a little dimension. DP is Webster's pages and cardstock is Bazzill. Please do yourself a huge favor and visit Wags 'n Whiskers. The Divas have really created some amazing eye candy for you this week (they do every week!). These ladies are seriously talented!!! And then we'd love it if you'd play along with us! If you use your Wags 'n Whiskers stamp, you'll be entered for a chance to win a WnW stamp of your choice! Thanks so much for visiting me today, and hope to see you back again soon!! Big hugs!!
    Source URL: http://soniceview.blogspot.com/2010/01/
    Visit So Nice View for daily updated images of art collection

My First Glass Etch Projects


    I have been so intrigued by the glass etch projects made with vinyl and Armour Etch which I have viewed at various blogs that I decided to have a go at etching.  After Christmas I purchased 9 inch tall hand blown candle sticks on close-out sale.  I thought they would be perfect for etching as there is a 1 inch rim at the top edge.  I also thought the close out price was a plus as this was a new craft for me.


    I used Design Studio and Storybook to cut a design in scrap cricut vinyl I had in a drawer.  I used the negative part of the cut and applied the vinyl pieces to the glass.  I then filled in the vine-flower design with Armour Etch. 


    I did not realize that the Armour Etch cream would drip, but it did.  Right down onto the bulb area in the center of the candle stick.  I tried a couple of fixes but found all attempts to deal with the drips lacking.  So finally I realized that I could etch the whole bulb area.  I am actually quite pleased with this effect.


    I purchased candles at Hobby Lobby and now I am all set with cute Valentine gifts for my daughter and my son's girlfriend.Source URL: http://soniceview.blogspot.com/2010/01/
    Visit So Nice View for daily updated images of art collection

The Game of Love


    I just love hearing about couples getting engaged...don't you? Just the thought of a new marriage, a new family...and well, the wedding cake, makes me turn to mush.


    My cousin Meg got engaged last month...yay! Now, I have 9 younger cousins...just on one side of the family. Hearing about their engagements is always exciting, but this one was especially thrilling because I've actually gotten a chance to get to know her *now* fiance....and he is such GREAT GUY!


    {ok, first...how adorable are they?!?}

    Let me tell you a just little about Meg & Sean:
    ♥Meg is about 12 years younger than I am. She used to write to me in college...telling me about how she would get up before school to do "Mousercise" (Mickey Mouse jazzercise) and writing out songs she had composed....at age 7! (As I remember, there were a lot of "Ooo, baby's" in the lyrics!) I think she is the most stylish person I know!
    ♥Sean was the first person my son ever met who owned an iPhone. And he let him PLAY WITH IT...that promoted him to "cool" right there. He plays guitar and sings and...Sean is also a SCRABBLE Champion. And that's where the cookies come in.


    {Seriously, now...don't you think the "blank" tile in Scrabble should be a heart ♥? I can picture it now....Scrabble, the Valentine Edition...a pink and red board with little heart tiles. *I* would buy one!}

    The cookies:
    My original thought (a year and a half ago when I met Sean and had a feeling this day was coming) was to make a cookie Scrabble board. Unfortunately, I just couldn't get it to look quite right, so I made Scrabble cookie tiles.


    Using my bench scraper, I divided square cookies into fourths.

    I jazzed up my usual cookie recipe with 3/4 tsp vanilla bean paste in place of the 1/2 tsp vanilla extract. Since they were smaller, I cut the baking time down by 2 minutes.


    To decorate:

    ♥Outline each cookie with a #2 tip in ivory (AmeriColor Ivory).
    ♥Thin the royal icing with water, stirring in a teaspoon at a time until it is the consistency of a thick syrup. Cover with a damp dish towel and let sit for several minutes.
    ♥Stir gently with a rubber spatula to pop any air bubbles that have formed on the top and transfer to a squeeze bottle.

    ♥Fill in the cookies with the thinned icing. Use a toothpick to guide into the corners.
    ♥Let sit for at least 1 hour.

    ♥Using a #2 tip pipe the letters in black icing (AmeriColor Super Black).
    {I tried to get as close the the Scrabble letters as possible.}

    ♥Switch to a #1 tip and add the point value for the letters in the corners.
    ♥With red icing and a #3 tip, pipe hearts on several of the cookies.

    ♥Let dry overnight and package.

    {Wouldn't these be darling for Valentine's Day?}

    Congratulations & best wishes Meg & Sean! Here's to a ♥sweet♥ life together! Cheers!

    Related posts:
    Yes, I said Yes! Engagement Cookies
    For June Brides...
    Valentine Cookies with va-va-va-vanilla

    *updated...thank you all so much for your sweet comments, emails and tweets about my Nana, Marge. they meant so much to me!*
    Source URL: http://soniceview.blogspot.com/2010/01/
    Visit So Nice View for daily updated images of art collection