Have you ever been to a VIRTUAL BABY SHOWER before? Well, guess what? You're attending one right now!

Our sweet, sweet friend and incredible baker, Amanda, from i am baker is having her fourth, yes 4th, baby (a boy!) next week. And Kristan, from Confessions of a CookBook Queen, had this fabulous idea for some of us to throw Amanda a surprise baby shower. SURPRISE, Amanda!!!
If by some chance, you've never met Amanda...well, first, where have you been?!? Second....let me show you how amazing this woman is.

Y'all....she is ONE.SERIOUSLY.TALENTED.LADY. Oh, and nice as can be, as well. And funny, did I say funny? So, you can see why we all love her.
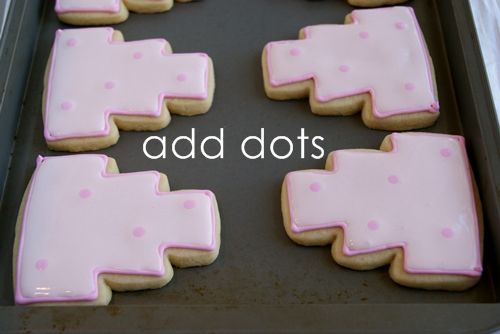
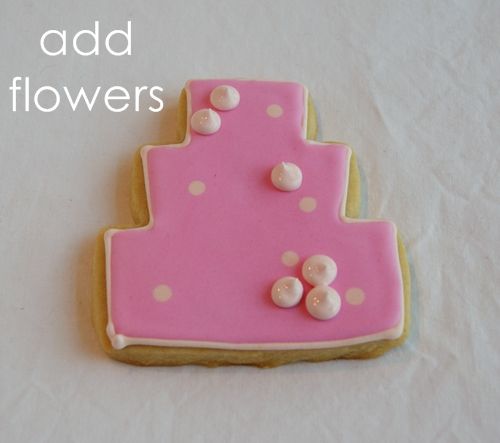
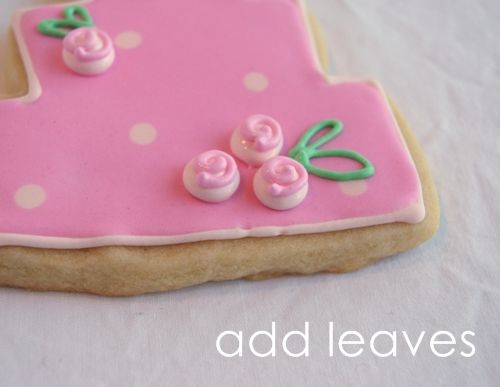
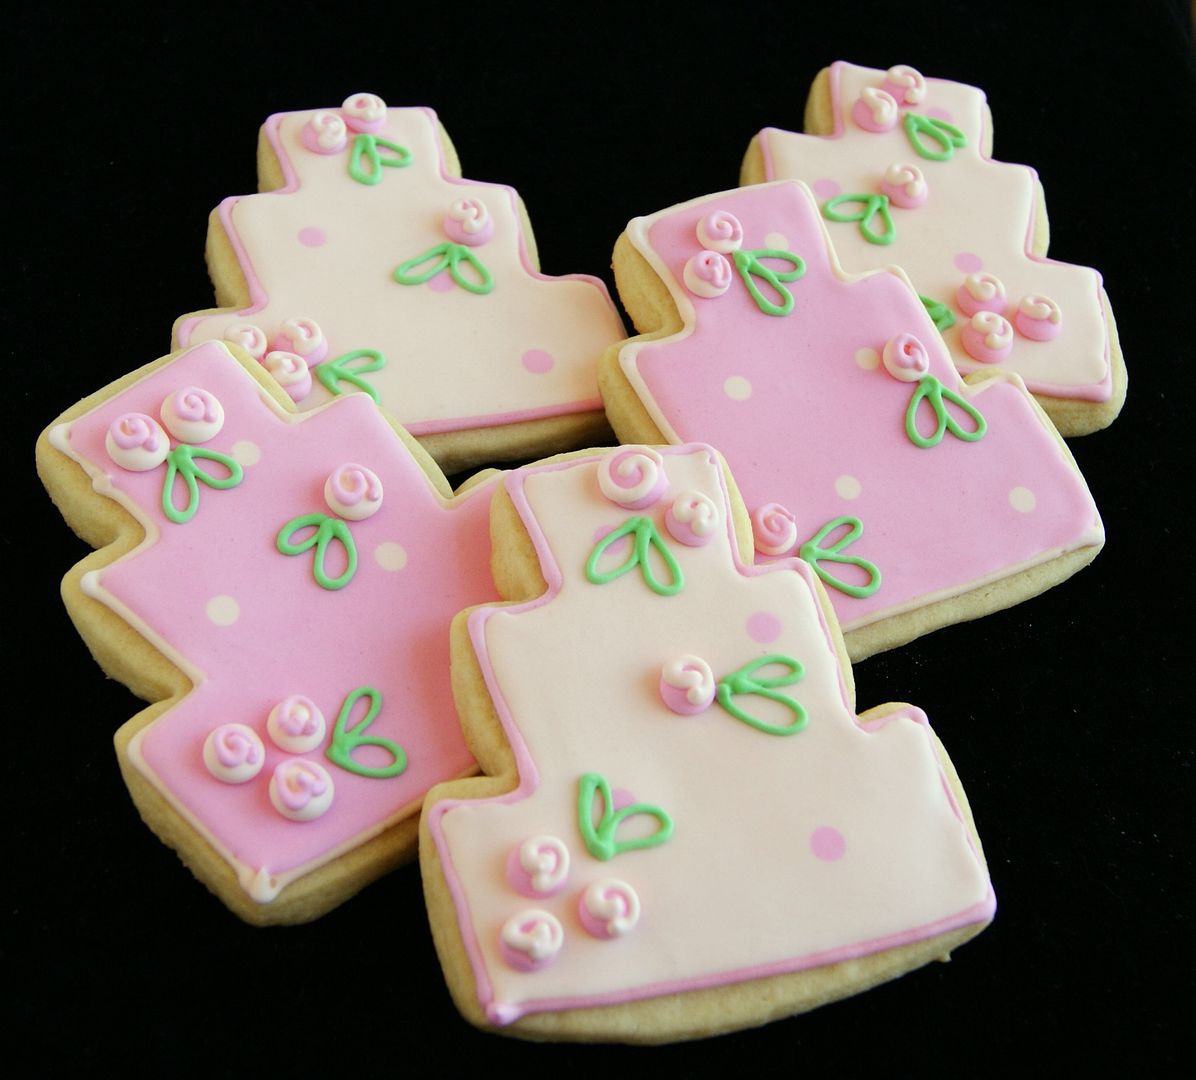
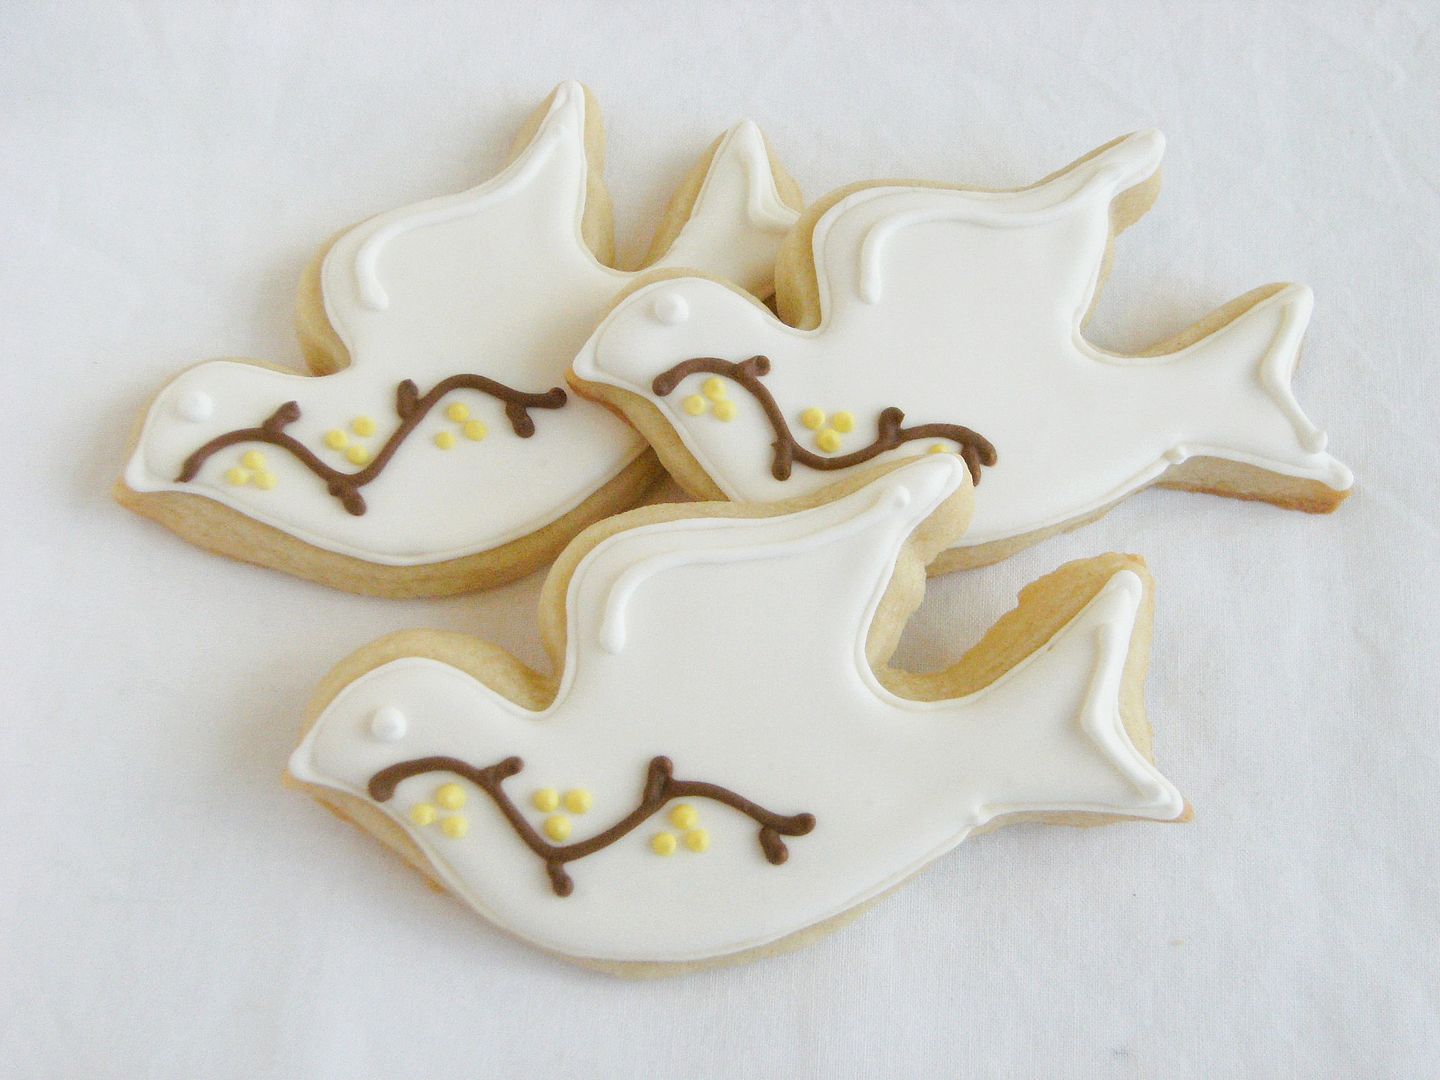
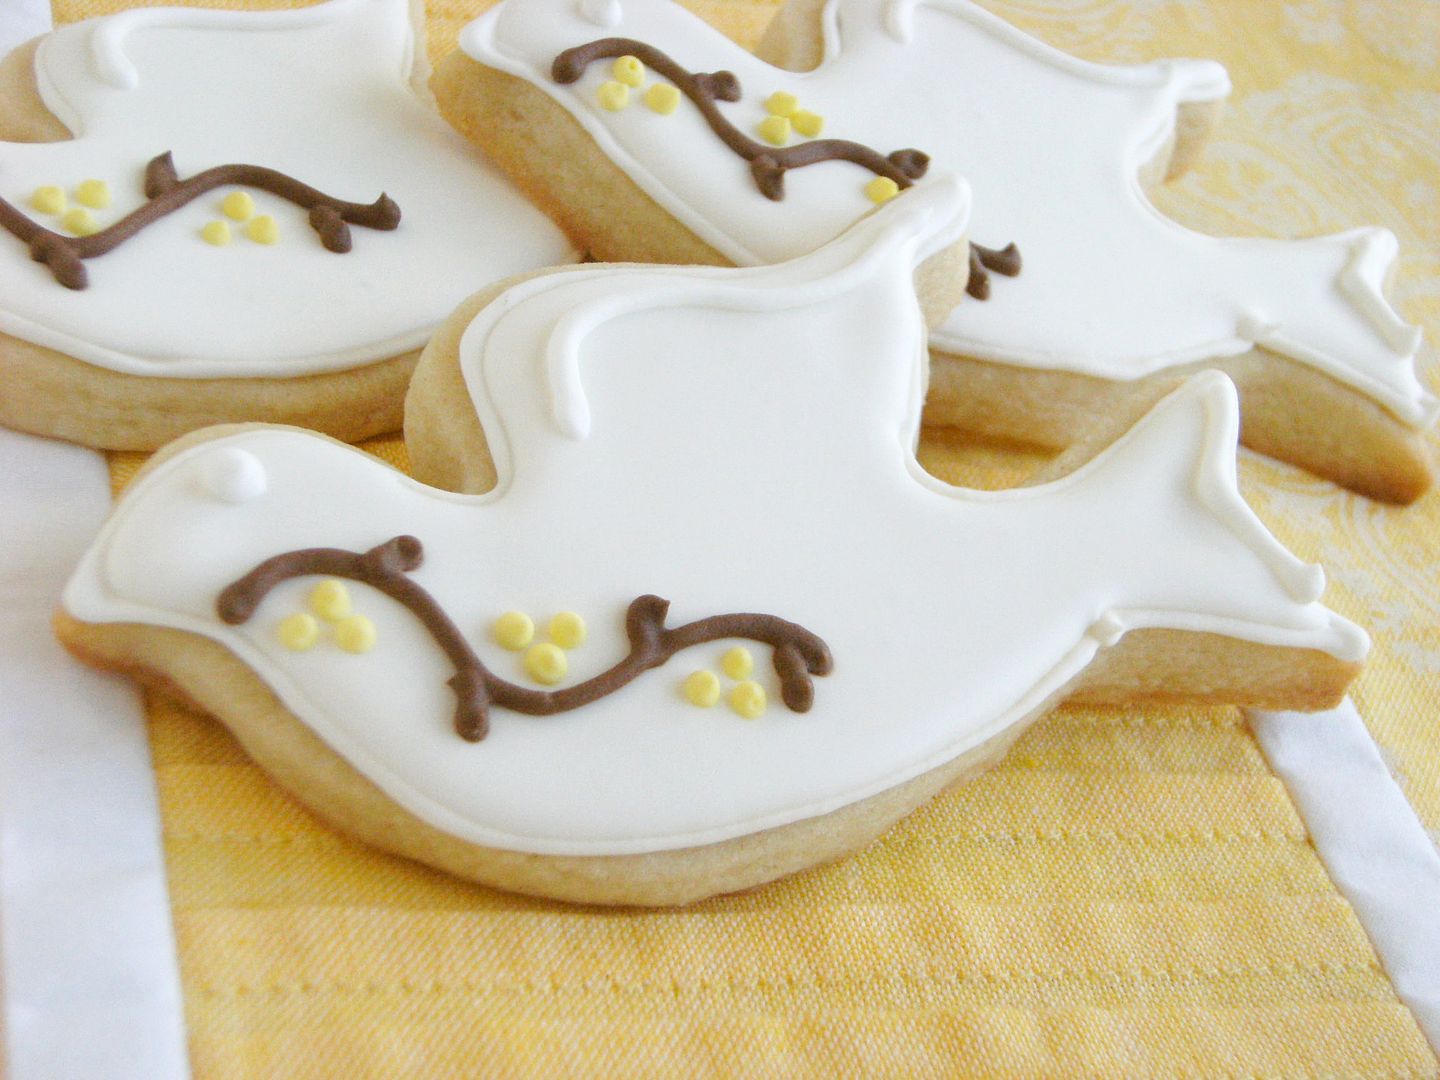
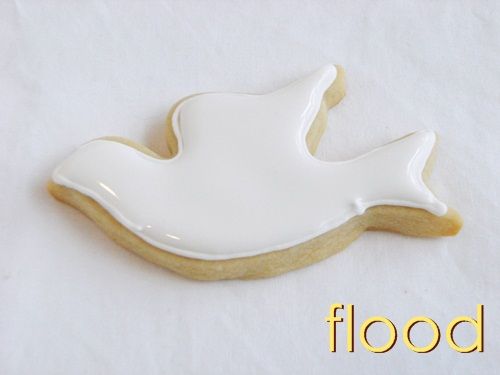
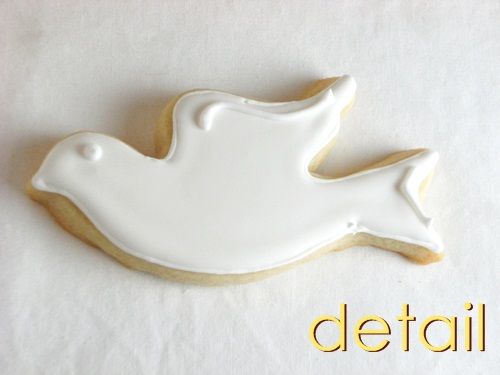
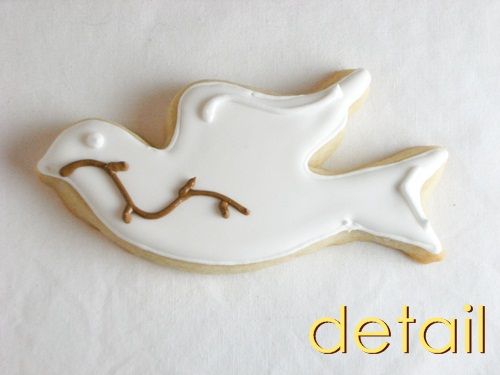
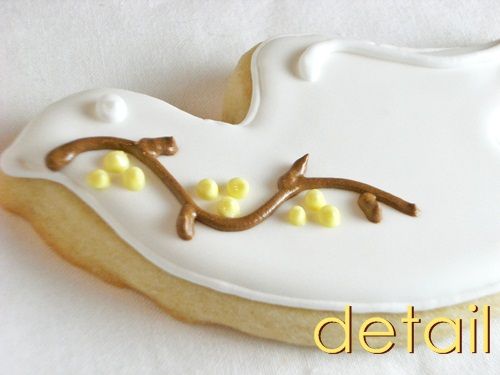
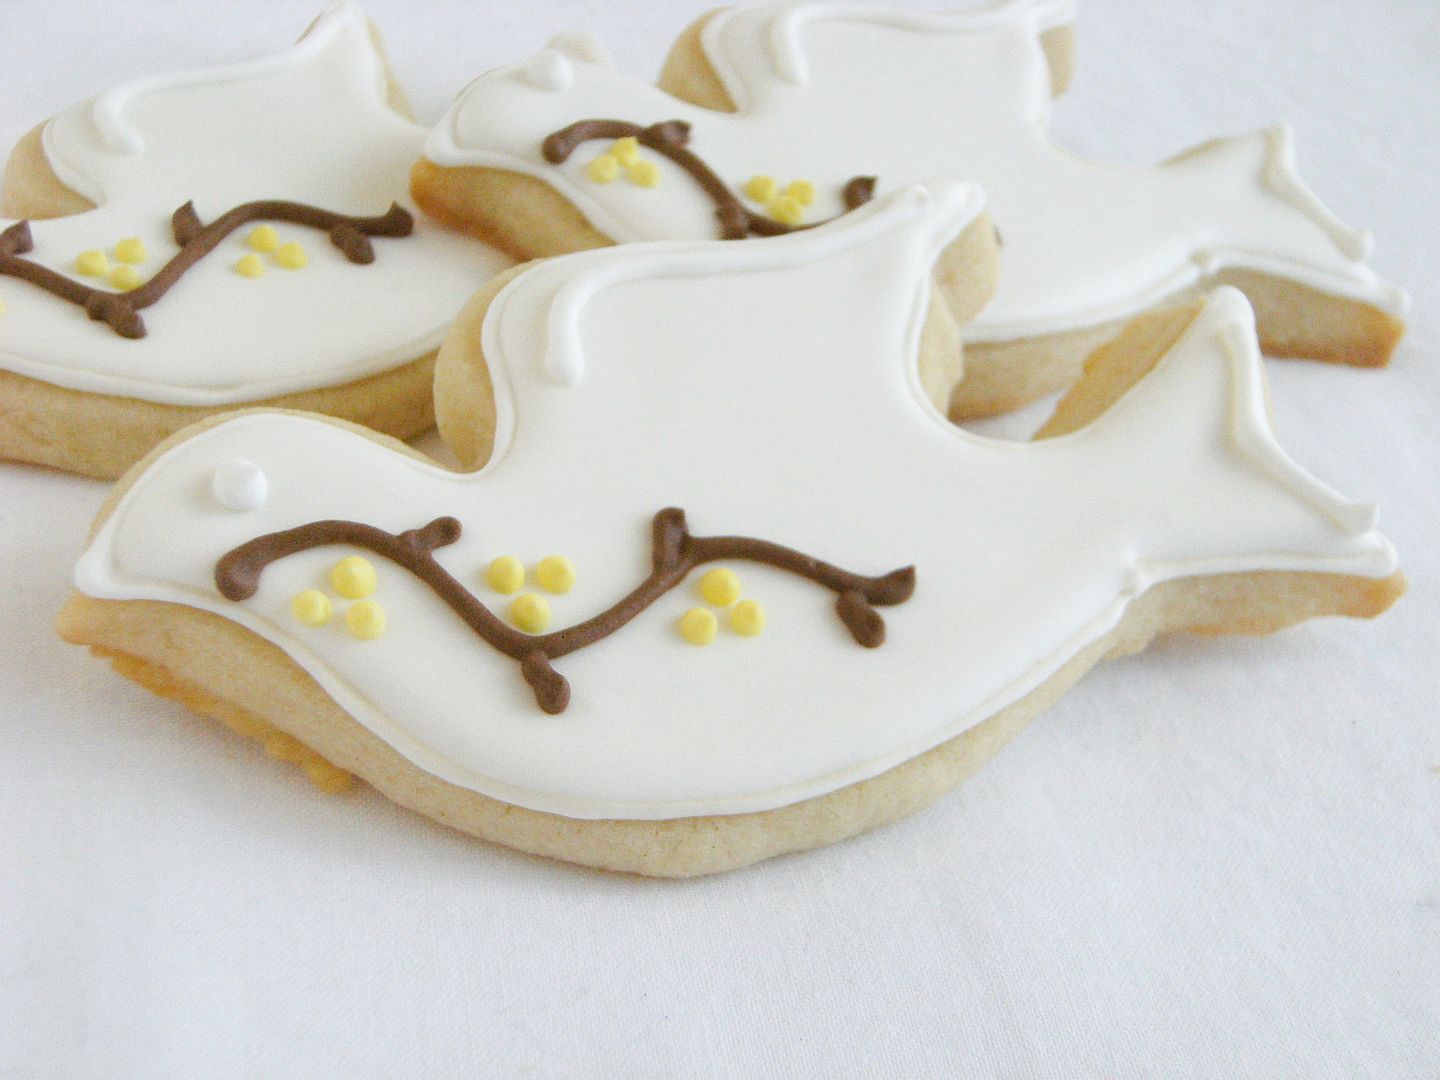
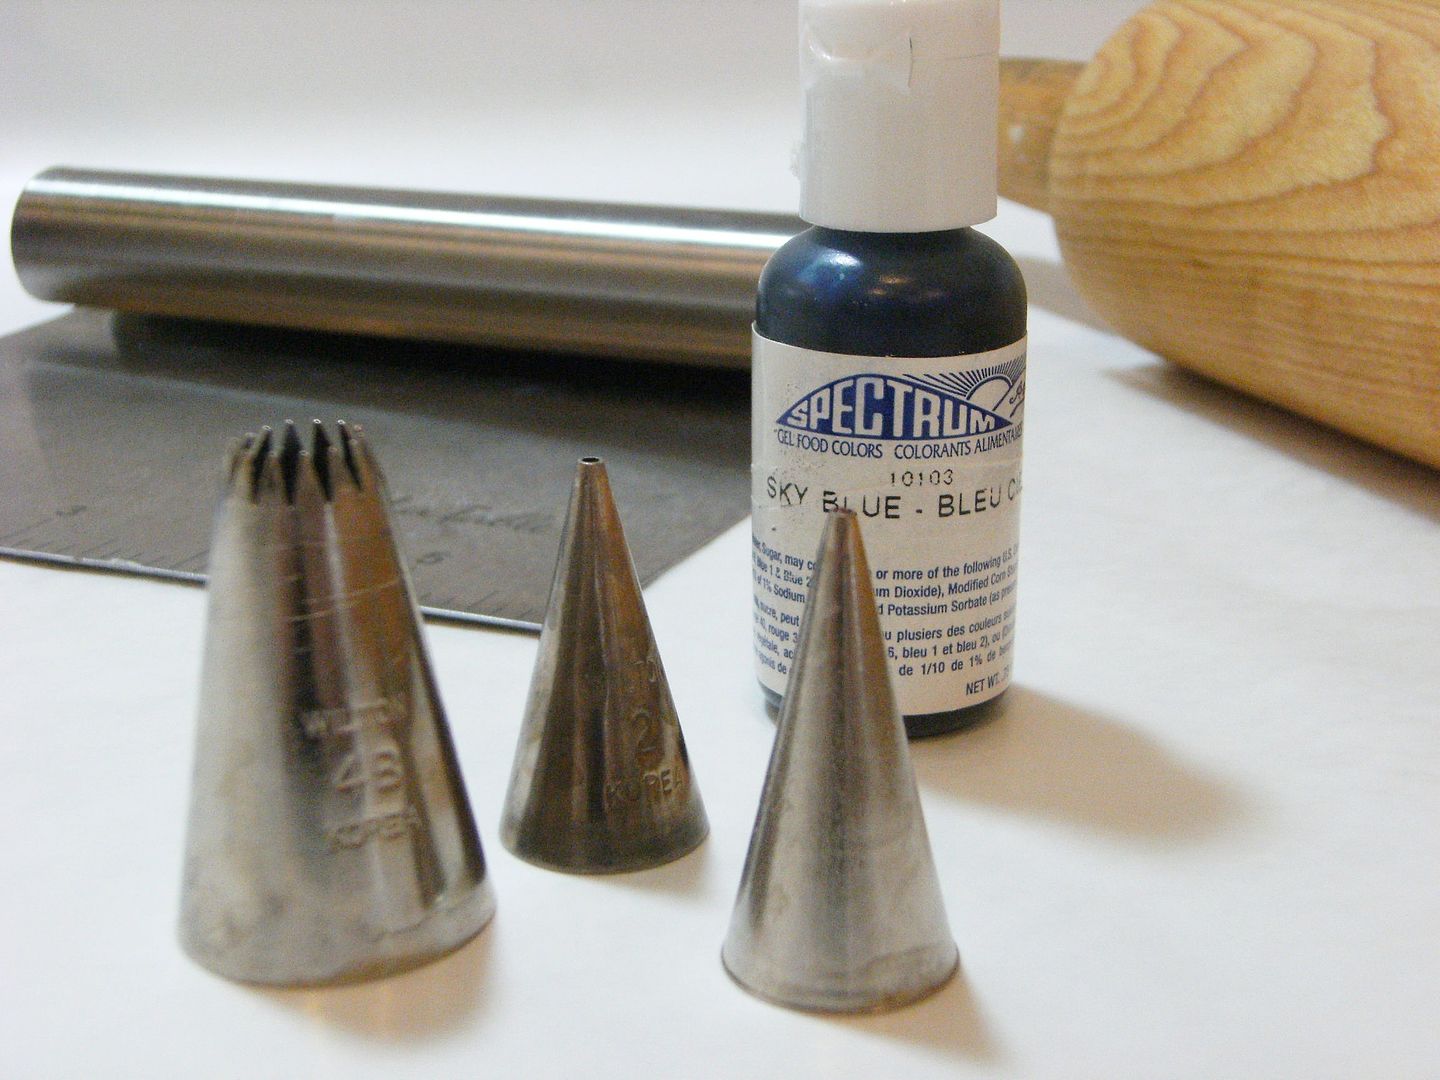
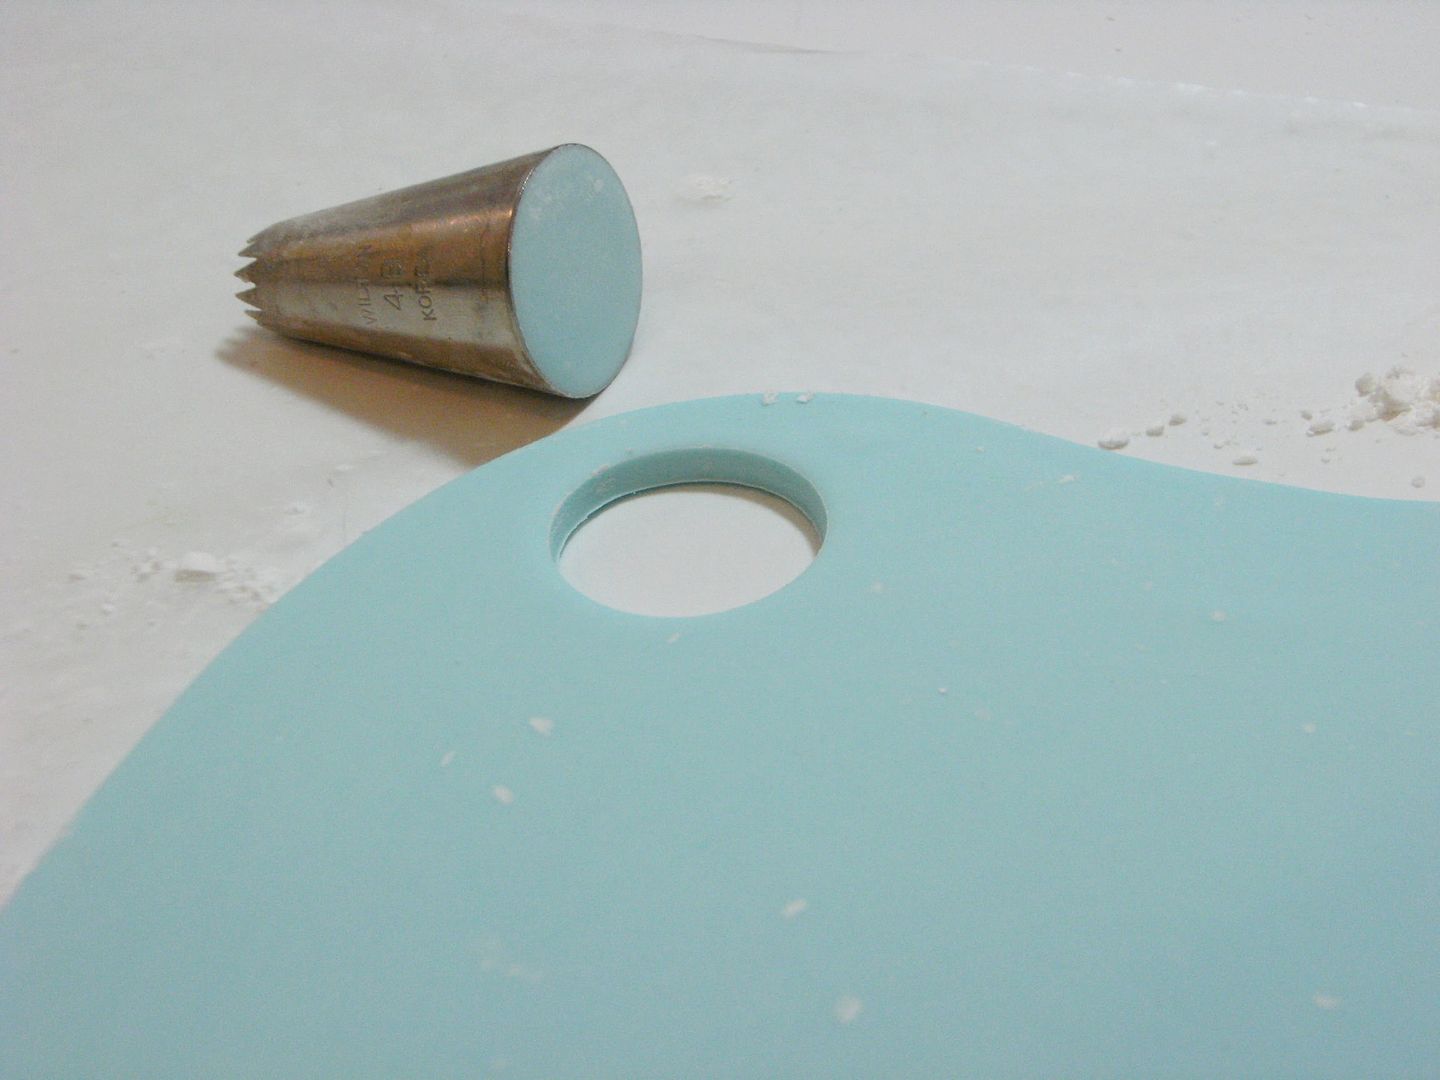
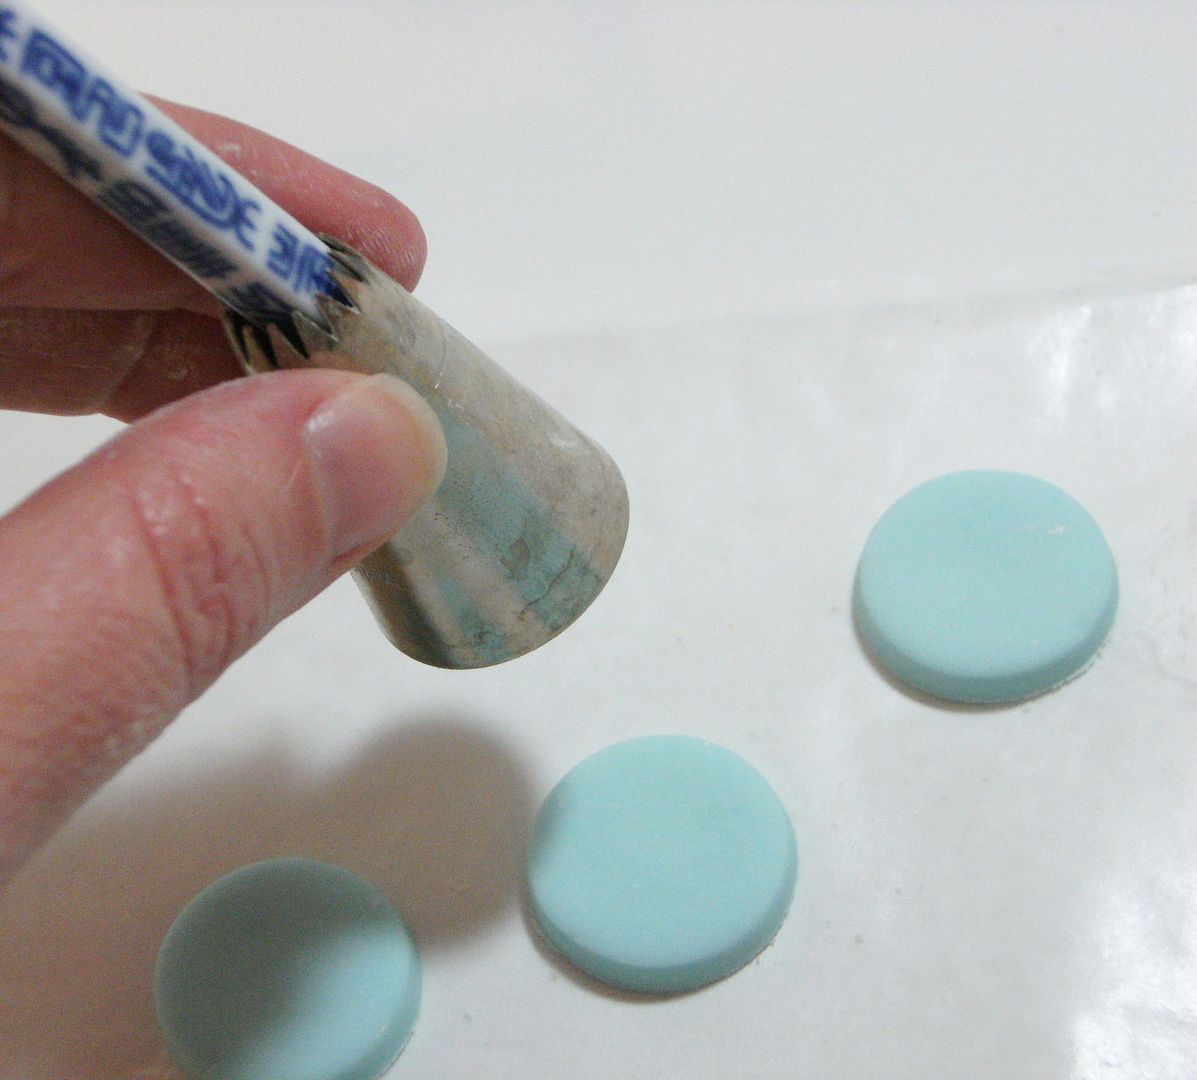
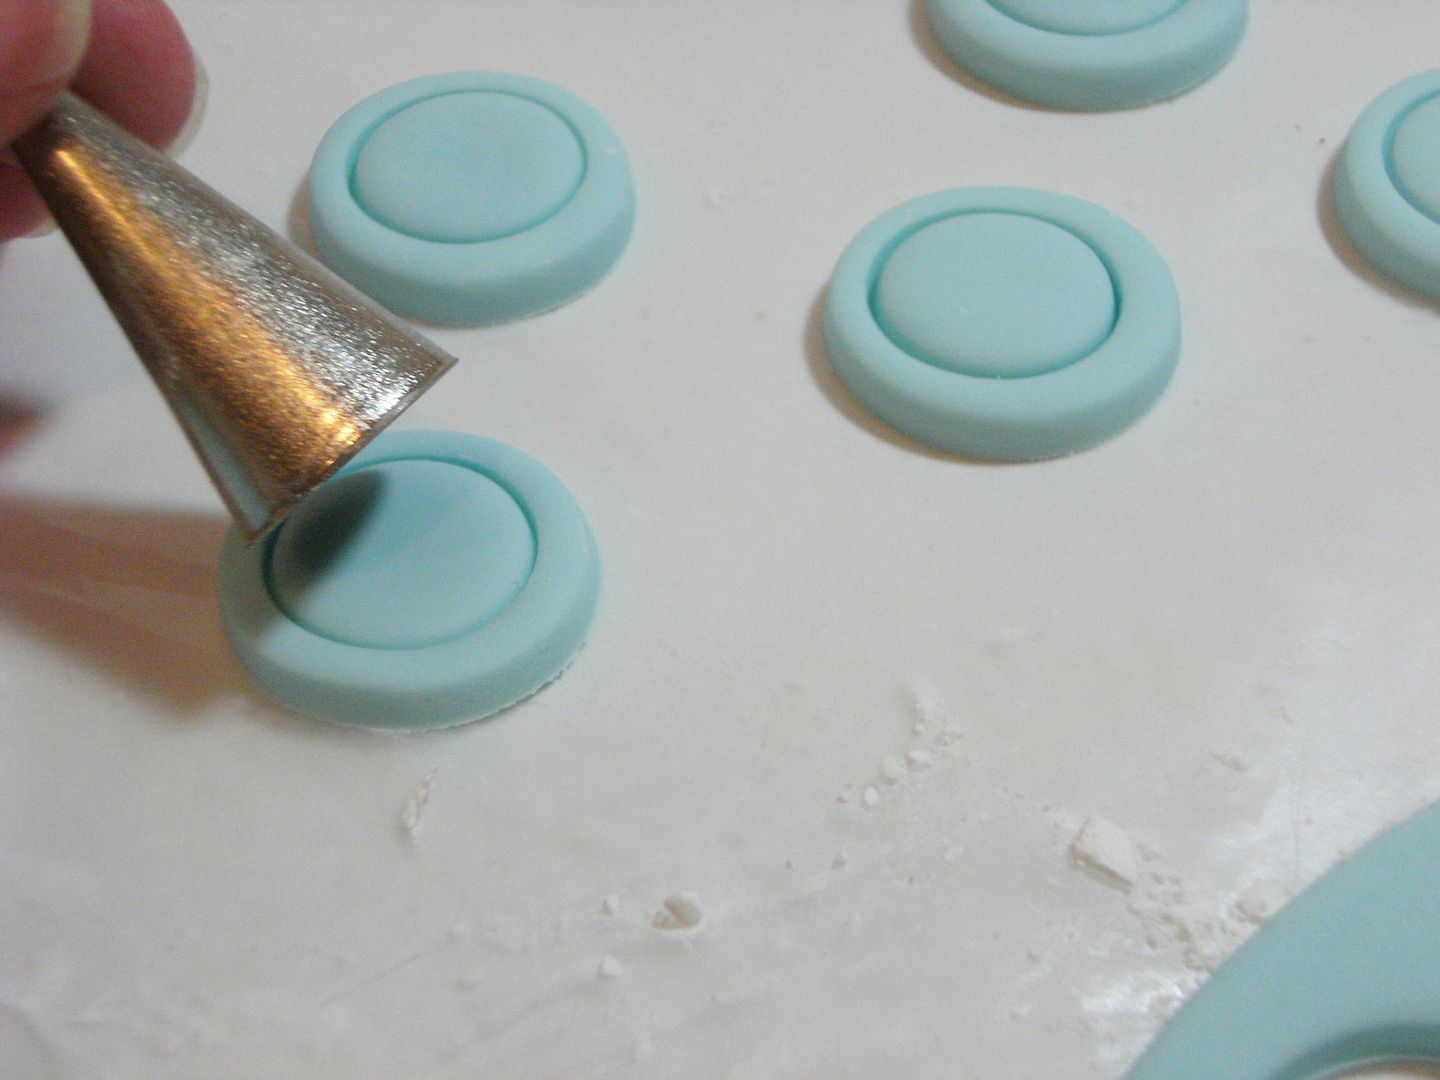
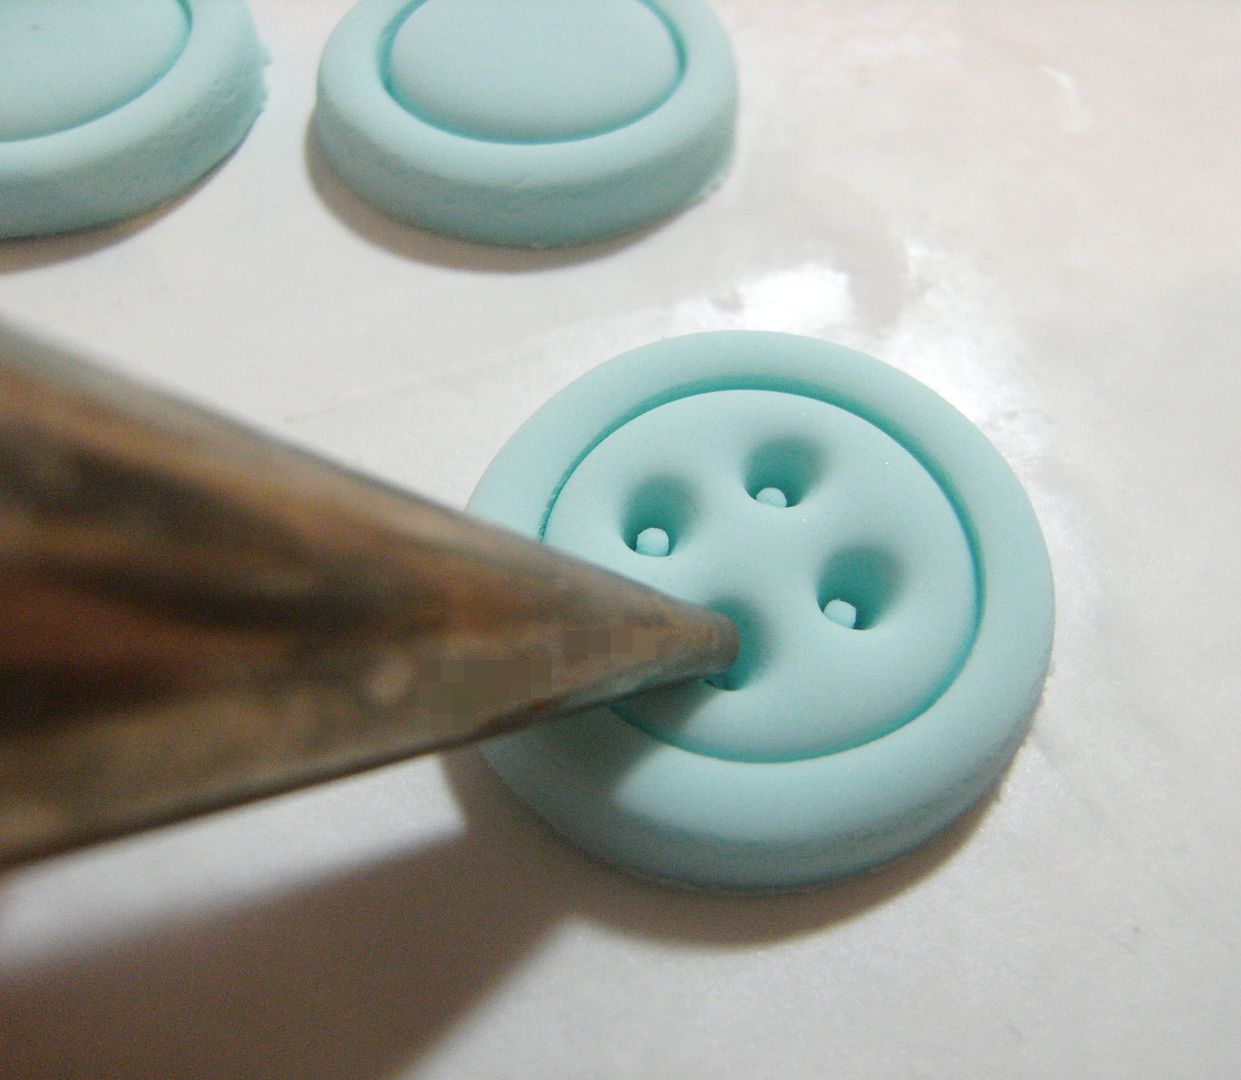
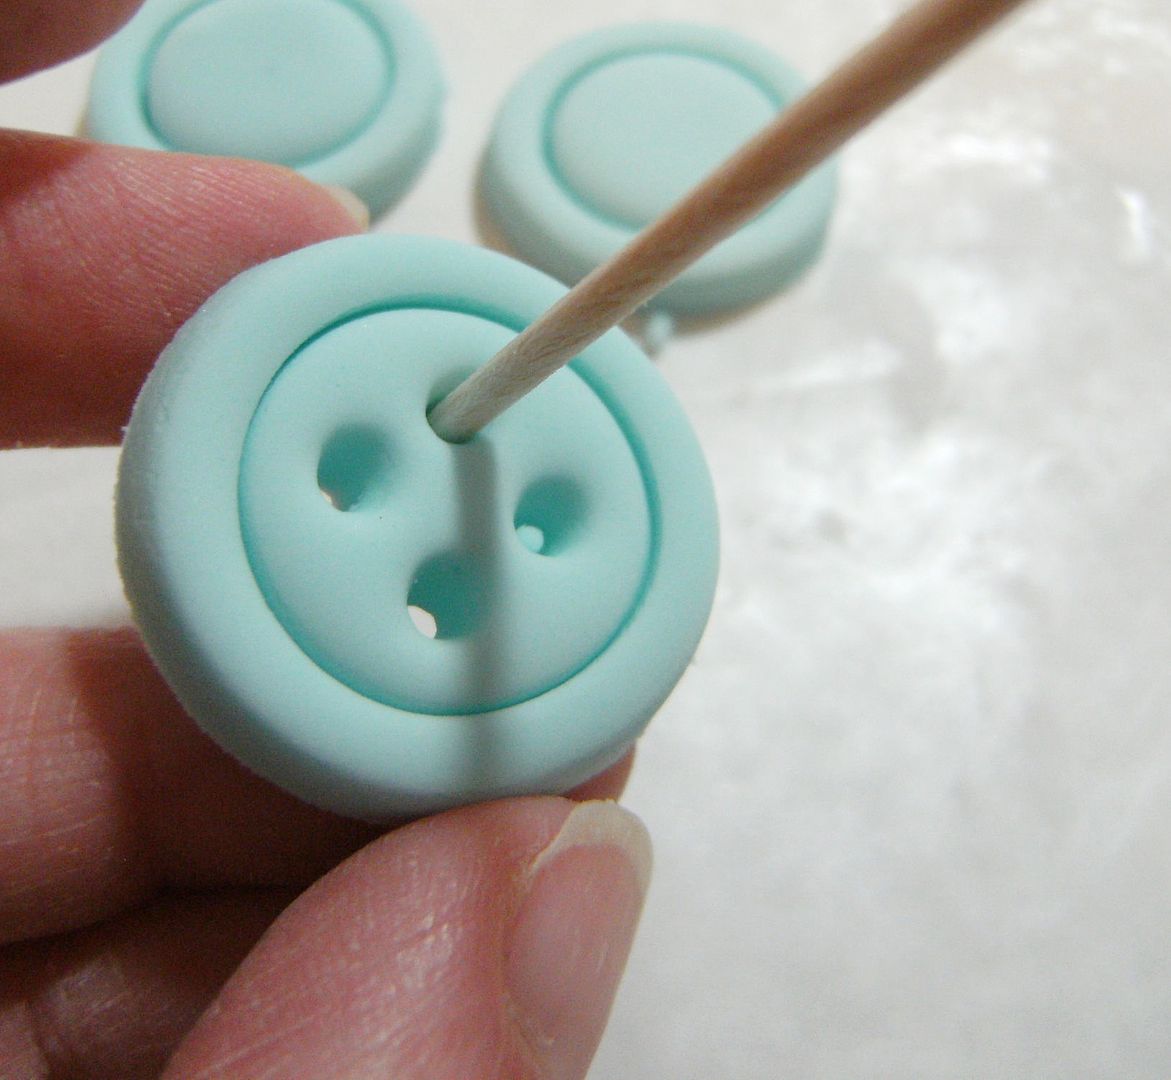
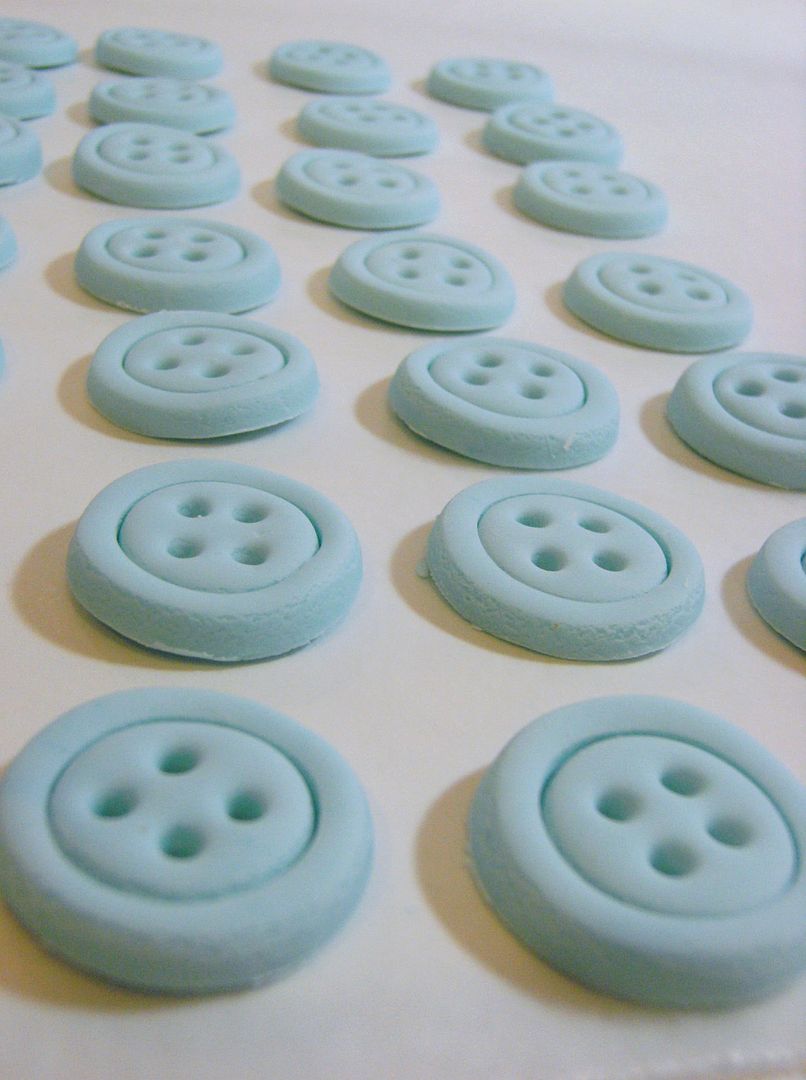
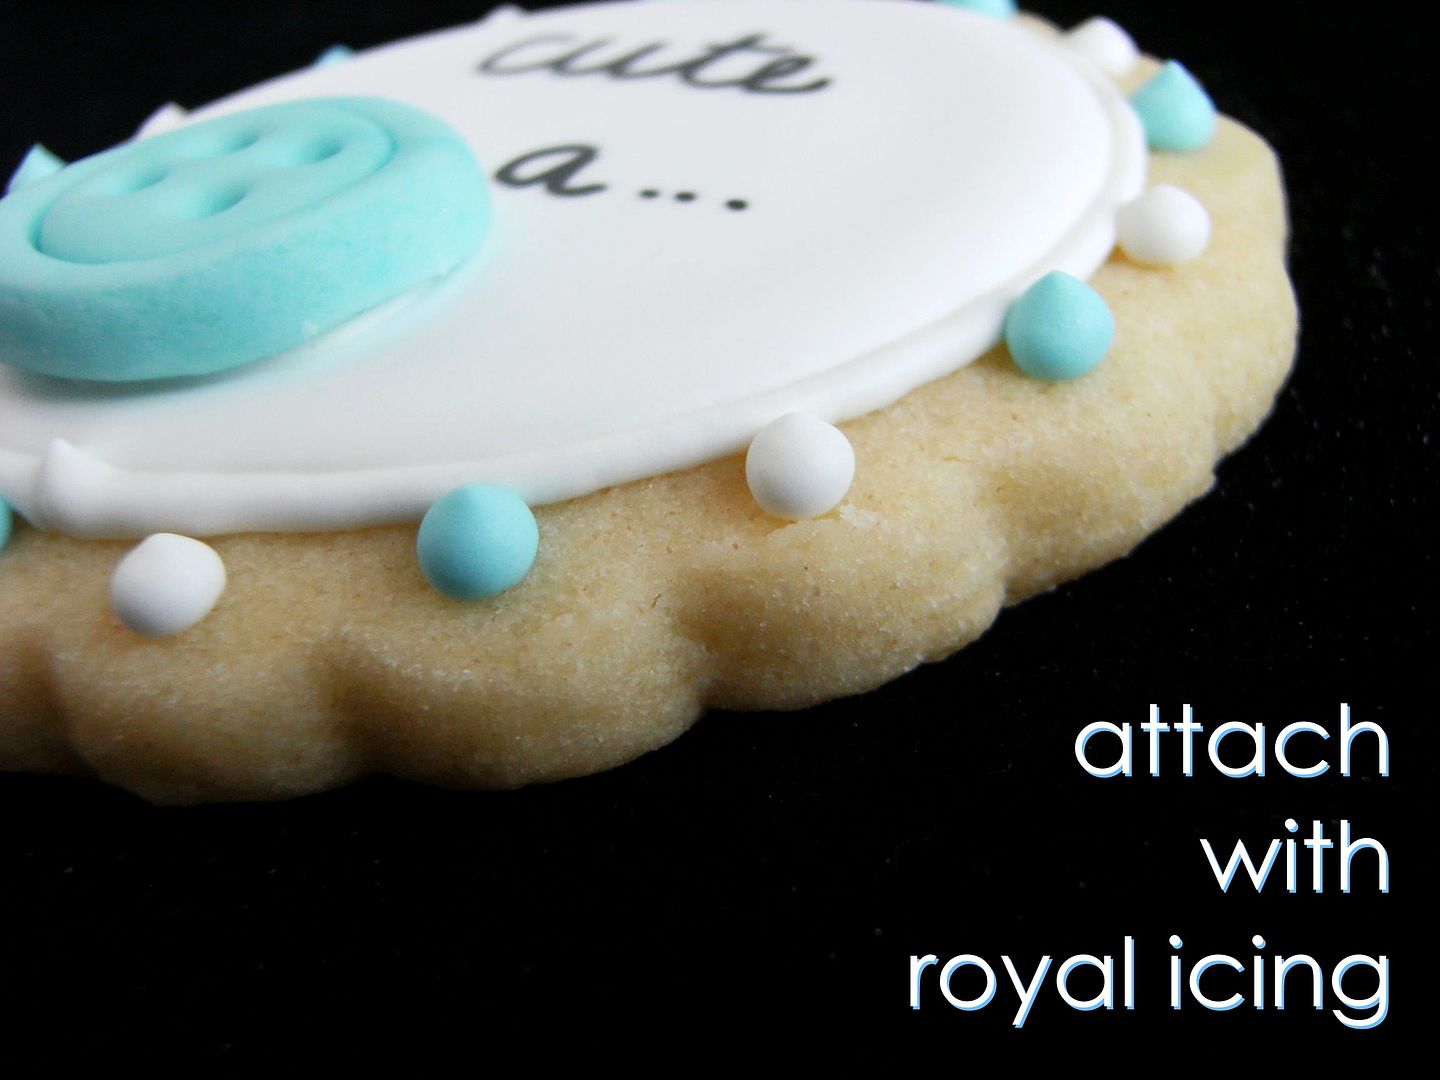
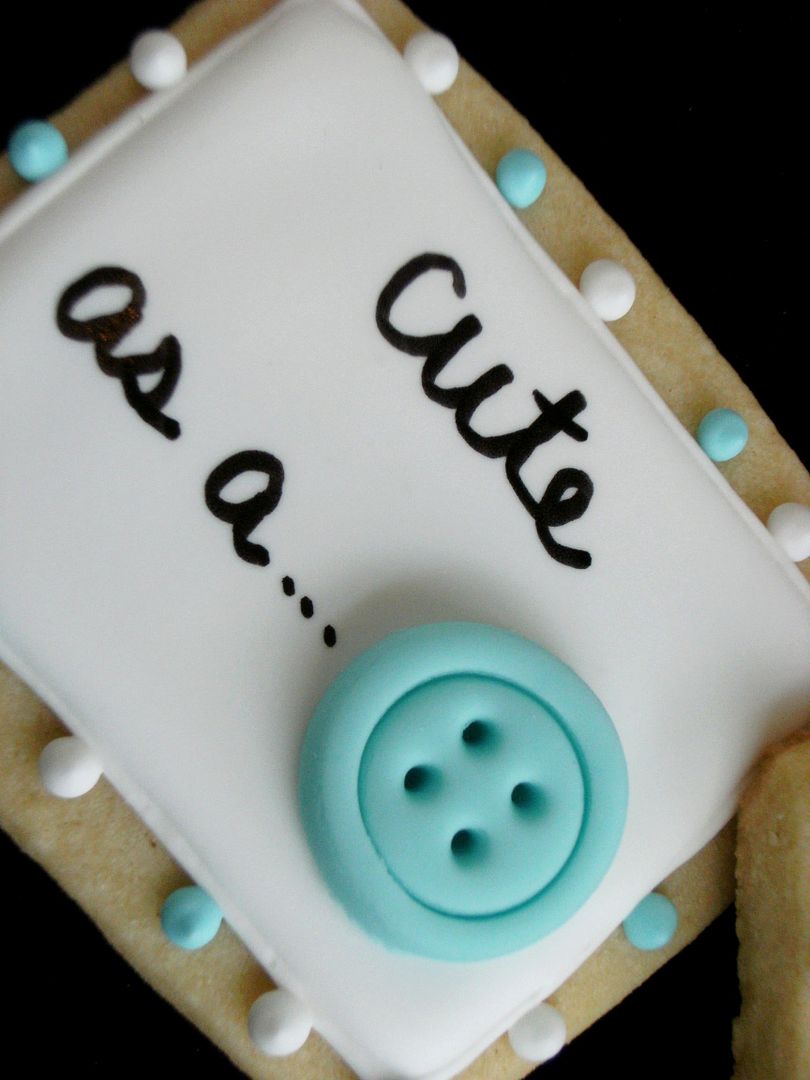
I volunteered to make cookies....I know it's a shocker. We tried to coordinate the shower colors as best we could through Skype; we went with teal and orange.

So, go wish Amanda "Happy Baby!" (Here she is on twitter, if you're the tweeting sort.)
OH! And be sure to stop by the other shower hostess for more goodies today...
Drinks:
Add a Pinch – i am baby Shower PunchTidyMom – Ducky Bath Blue Punch
Savory Bites:
Dine and Dish – Stuffed MushroomsGoodLife Eats – Cucumber Sandwich Recipe
My Baking Addiction – Crab Rangoons
Simple Bites – Spring Crudité, Buttermilk-Black Pepper Dip
Desserts:
A Farmgirl’s Dabbles – {i am baby} cakesBakers Royale – Baby Shower Cupcakes
Bluebonnets and Brownies – Mini Fruit Pizzas
Confessions of a Cookbook Queen – Homemade Butter Mints
Food for My Family – Baby Shower Macarons
Gourmande in the Kitchen – Chocolate Blueberry Truffles
My Kitchen Addiction – Sourdough Cinnamon Rolls
She Wears Many Hats – “B” is for Boy – Itty Bitty Baby Cupcakes
Smith Bites – Strawberries with Brown Sugar Dip
What’s Cooking with Kids – Hamentashen cookies
Last But Not Least:
Wenderly – Baby Cards

Can't wait to meet this sweet baby, Amanda!!!
Source URL: http://soniceview.blogspot.com/search/label/babiesVisit So Nice View for daily updated images of art collection